How to use the Darning Loom
How to use the Skein Sisters Darning Loom
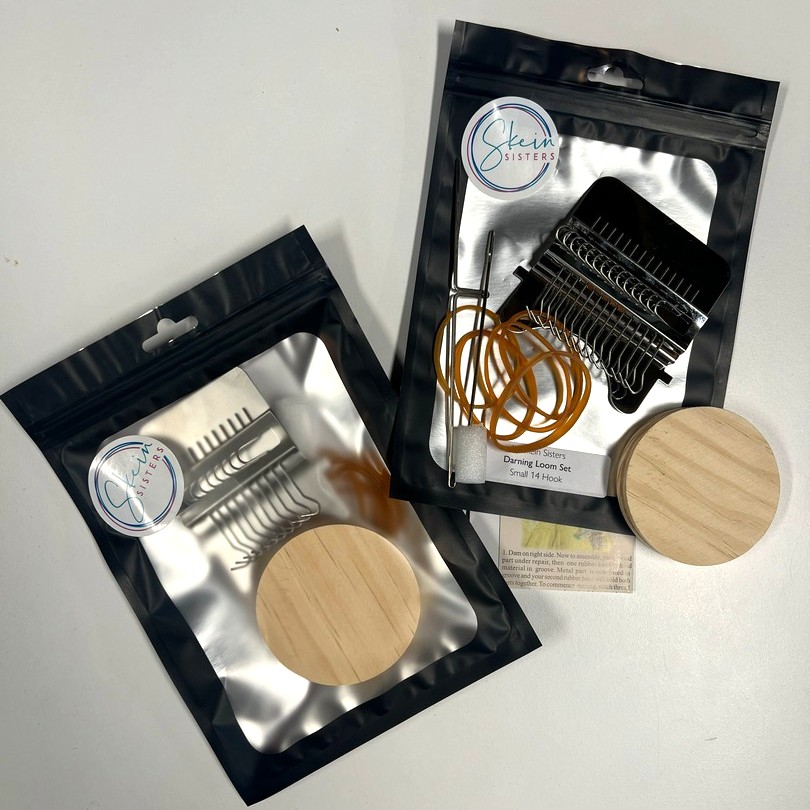
1. Choose the 10 hook mini darning loom or the 14 hook small darning loom, depending on the size of the patch you want to make. You don't need to use all the hooks.
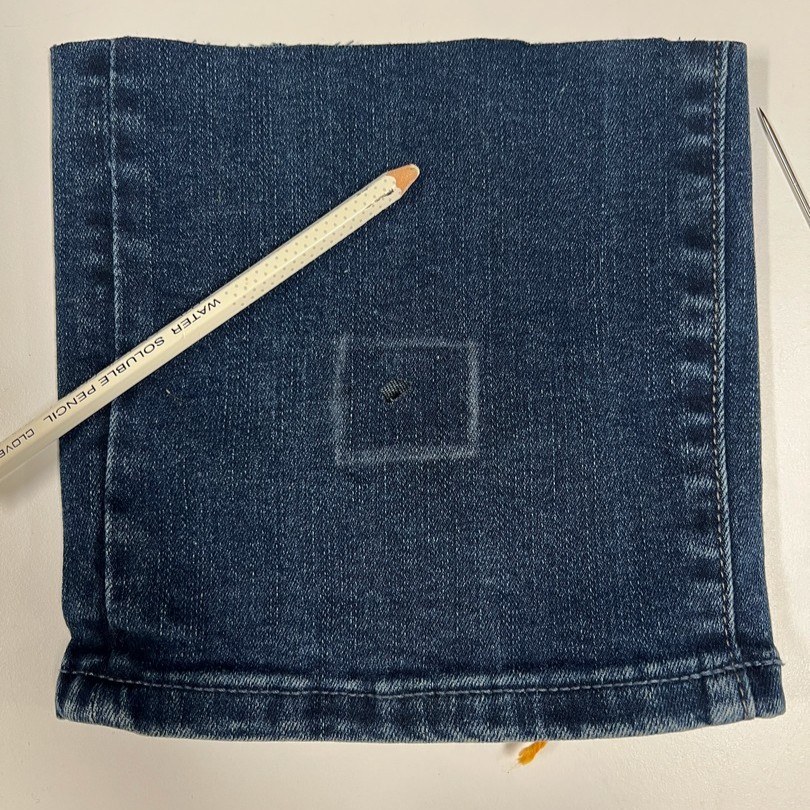
2. Mark the outline of your patch if desired with a fabric pencil or basting.
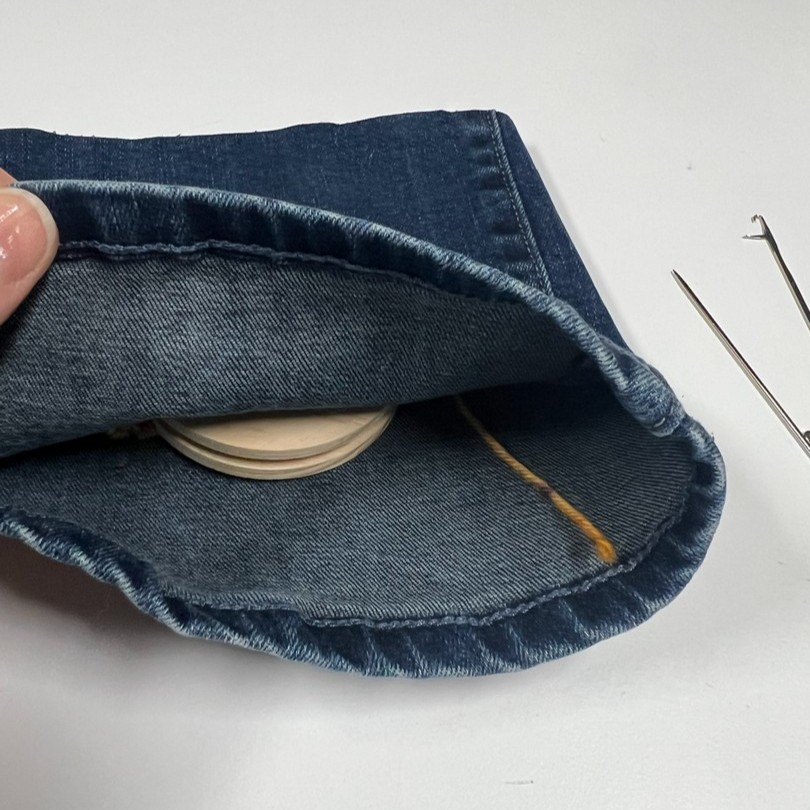
3. Place the timber disc at the back of your work.
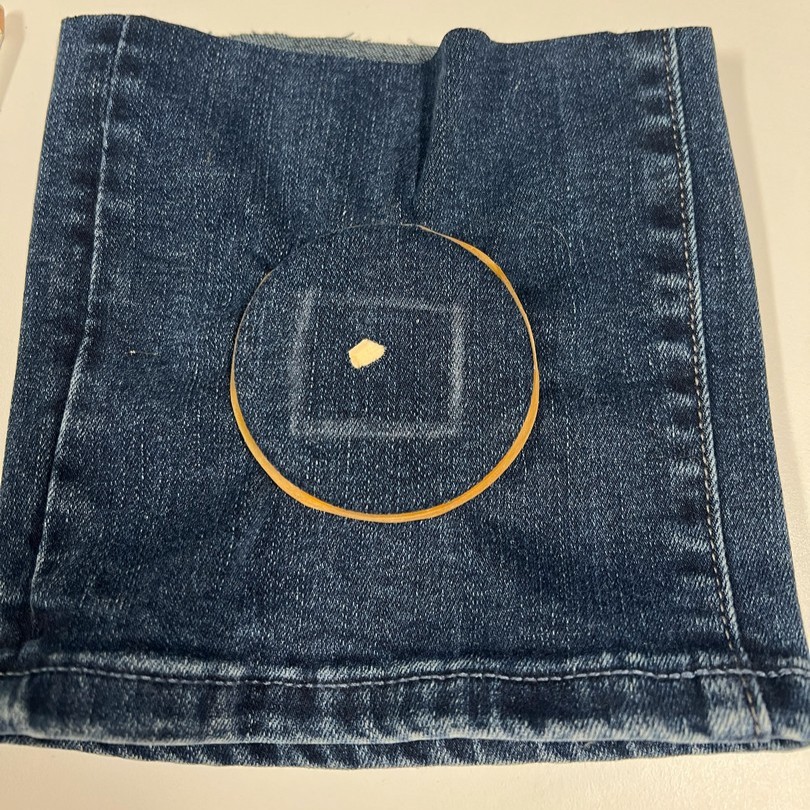
4. Stretch and smooth your fabric over the timber disc, using a rubber band to secure the fabric in place into the groove.
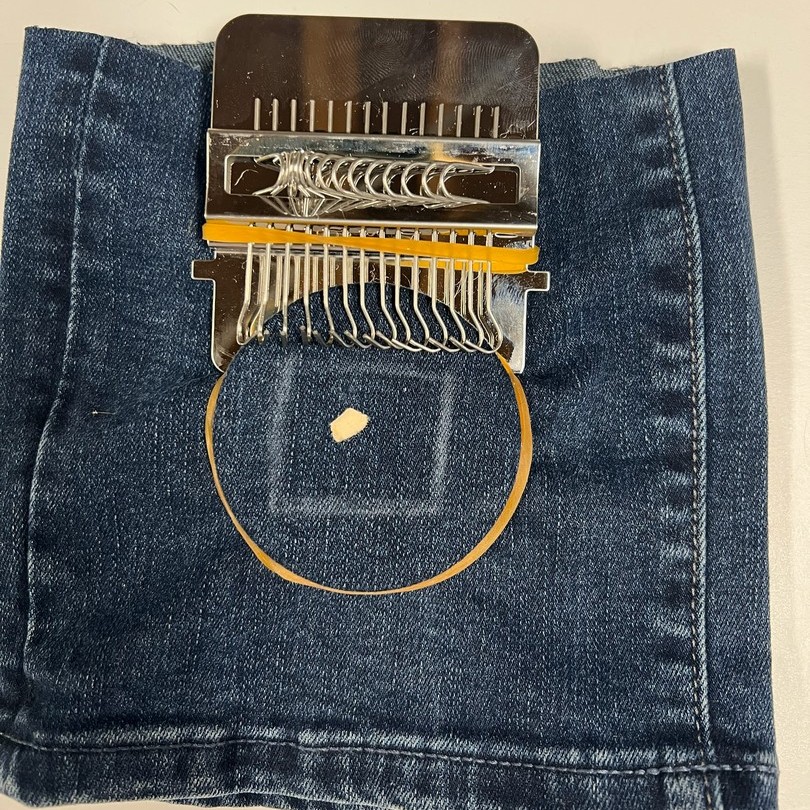
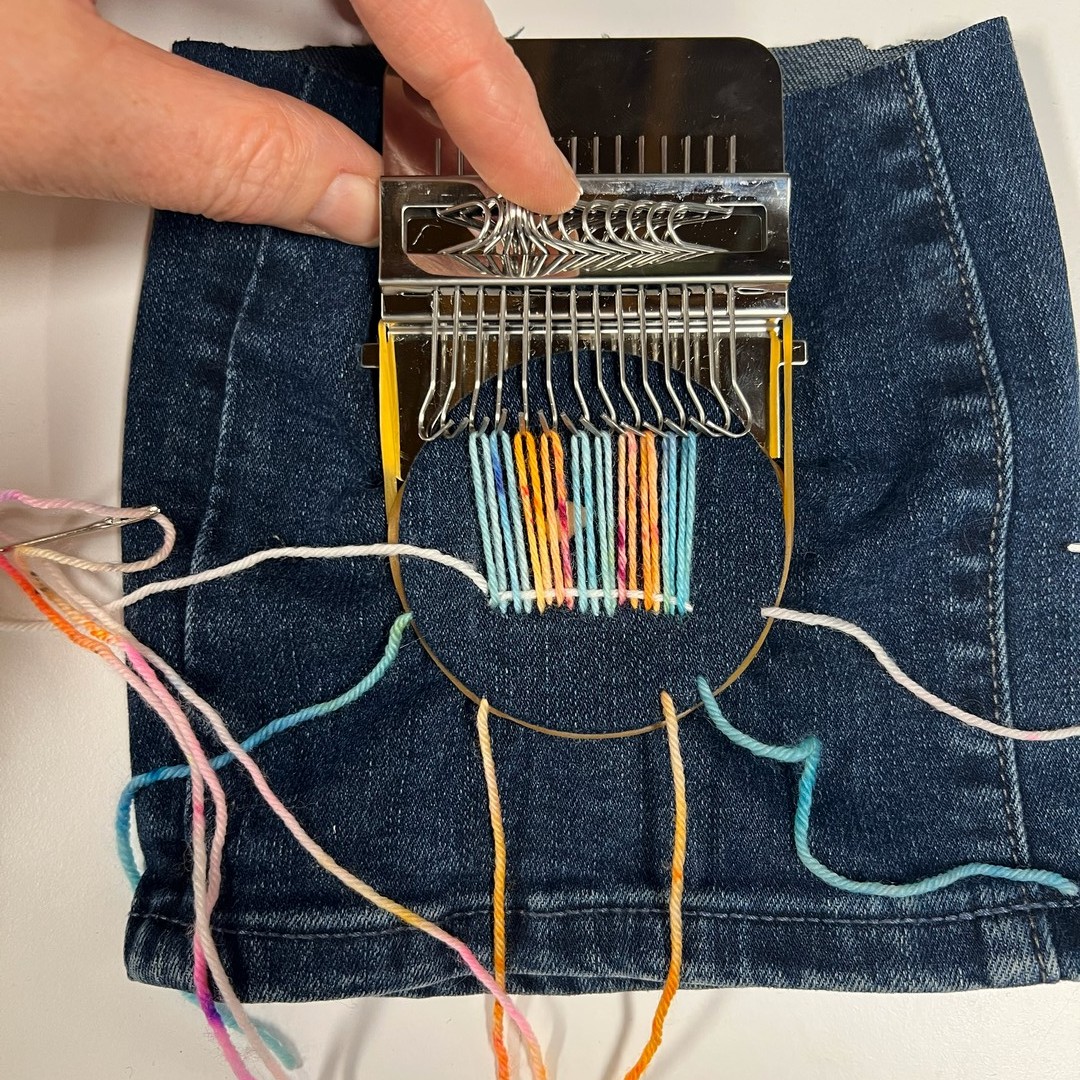
5. Position the hook assembly at the top and push it as far as it will go into the groove around the timber disk. Ideally, you want it so that the hooks are along the top of your marked outline. Secure the hook assembly to the disc using another rubber band.
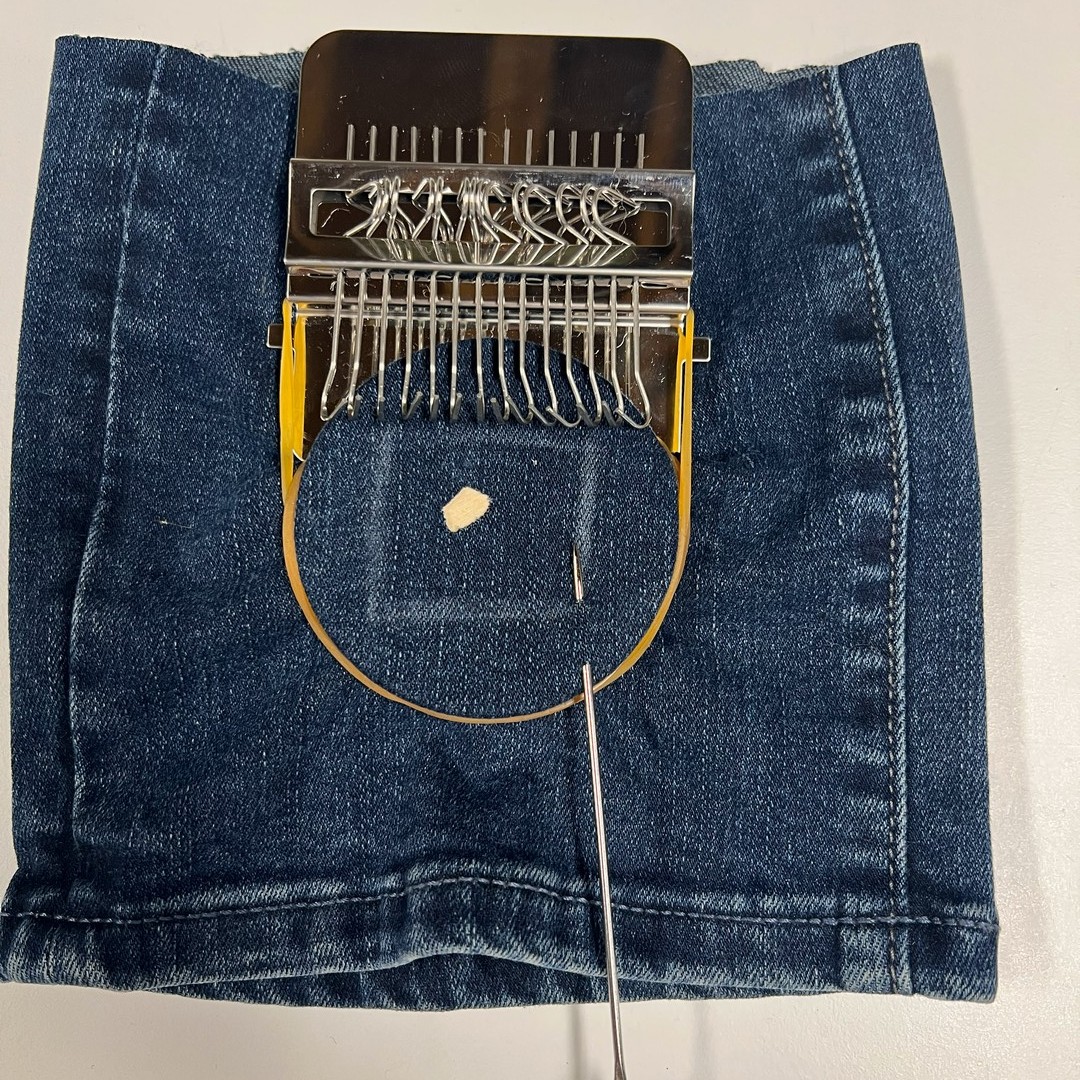
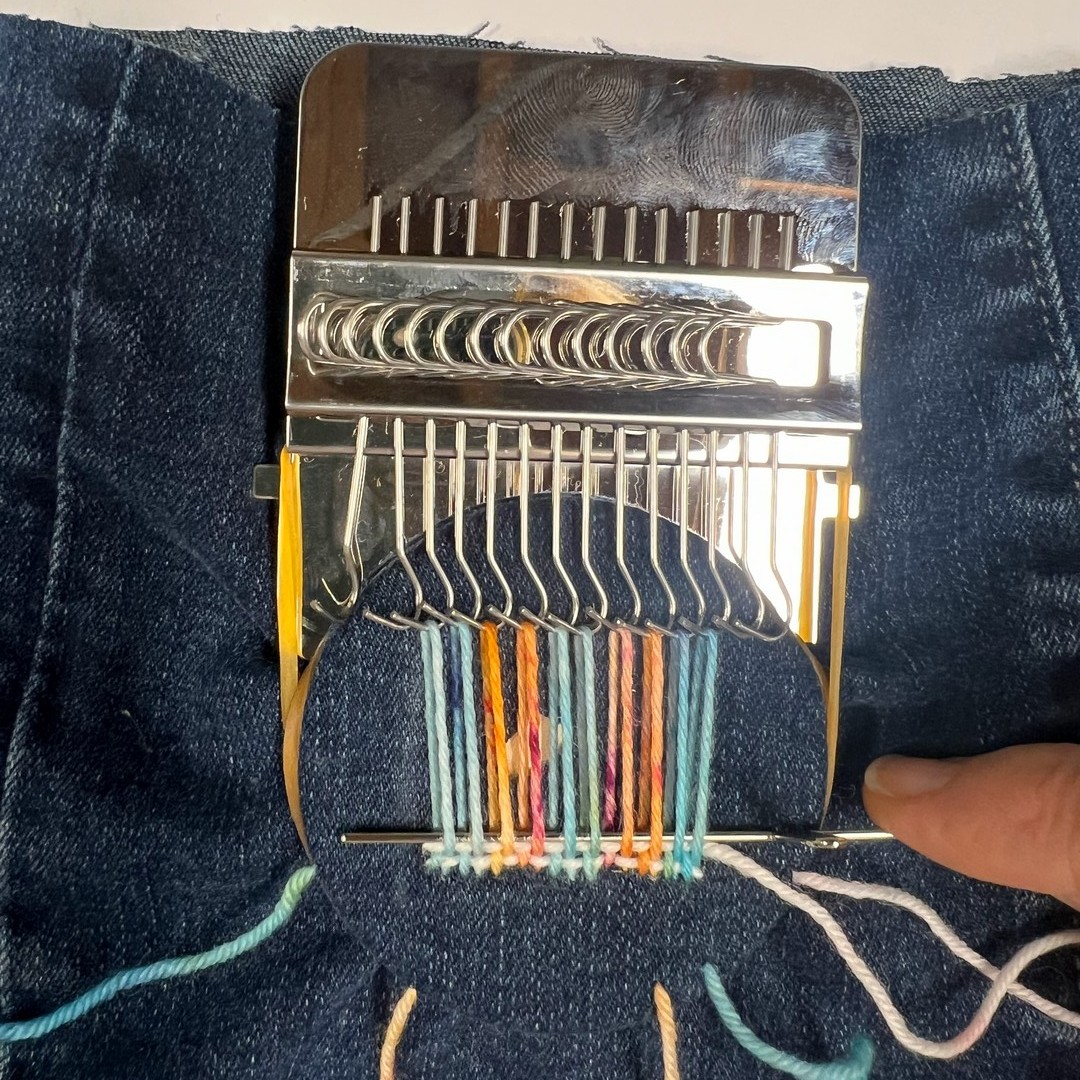
6. With your hooks as upright as you can get them, start setting up your warp yarns. Working from the front (right side), go into the fabric at the edge of the disc and then come up at the bottom corner of your patch outline.
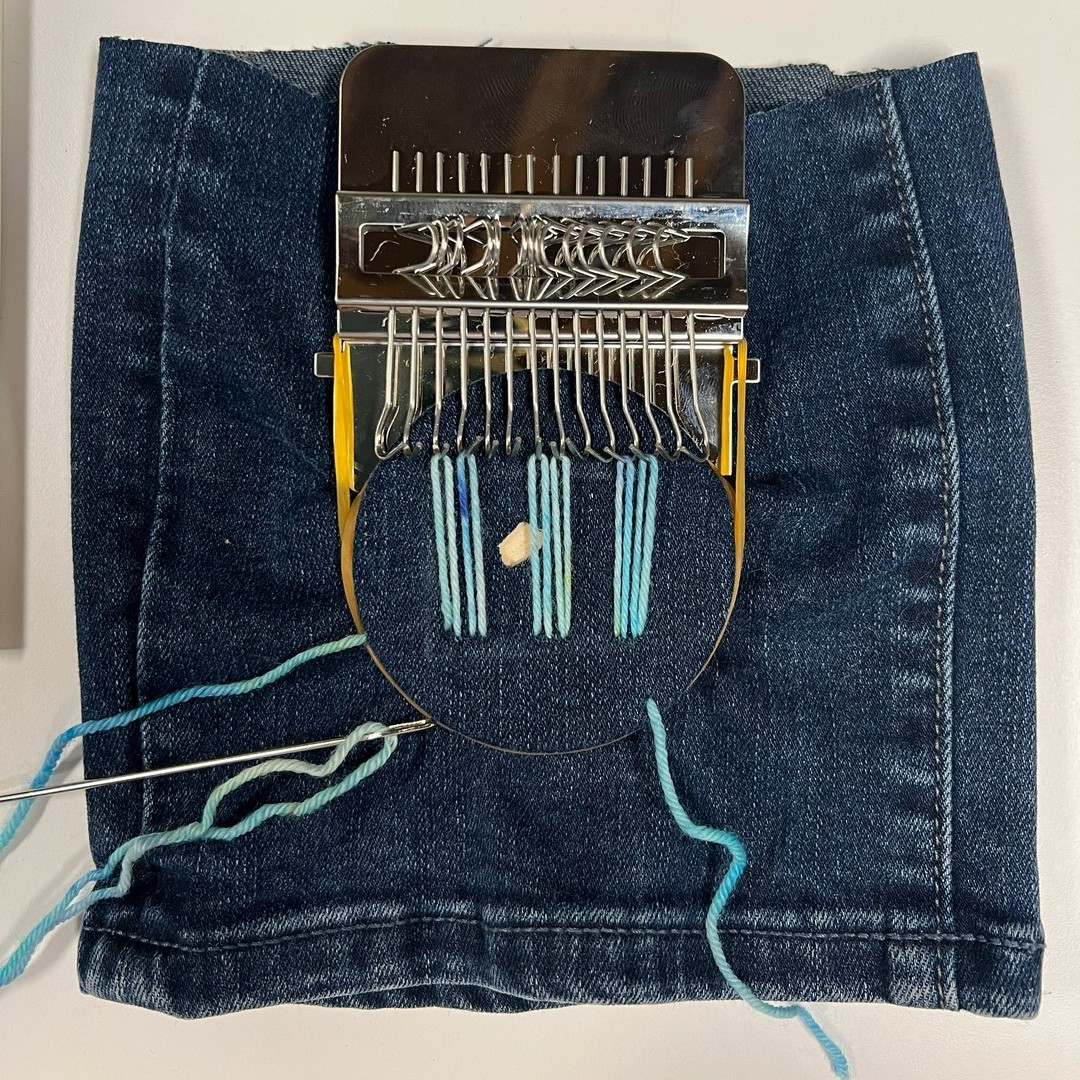
7. Loop your yarn around the first hook, then go back into the fabric at the bottom of your patch. Come up a couple of millimetres to the left.
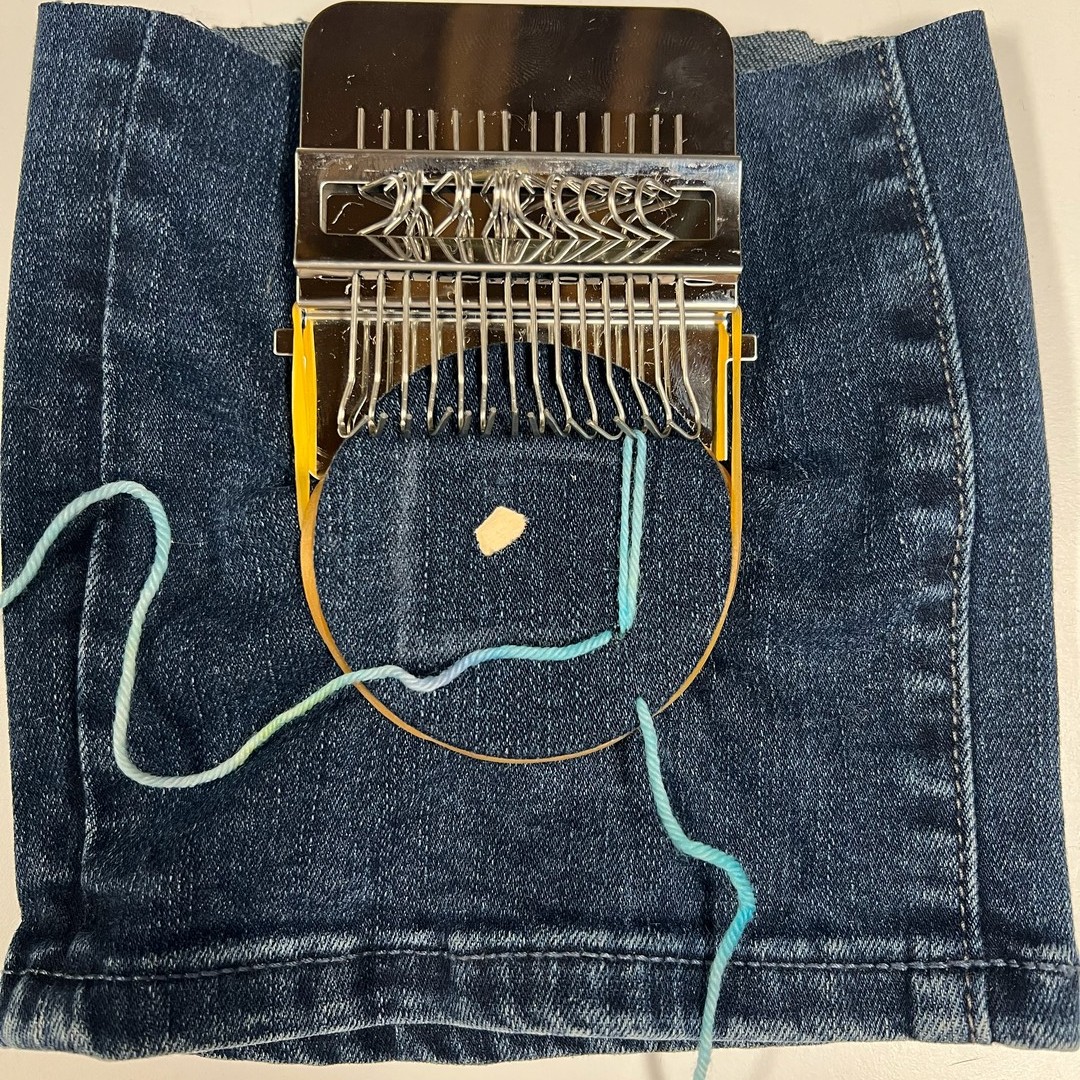
8. Continue forming loops around each hook, in whatever pattern you like, and using as many hooks as you need to cover your patch area. The warp yarns can be all one colour, two colour stripes, or more. When you've finished with one colour, bring the yarn back to the top at the side of wooden disc.
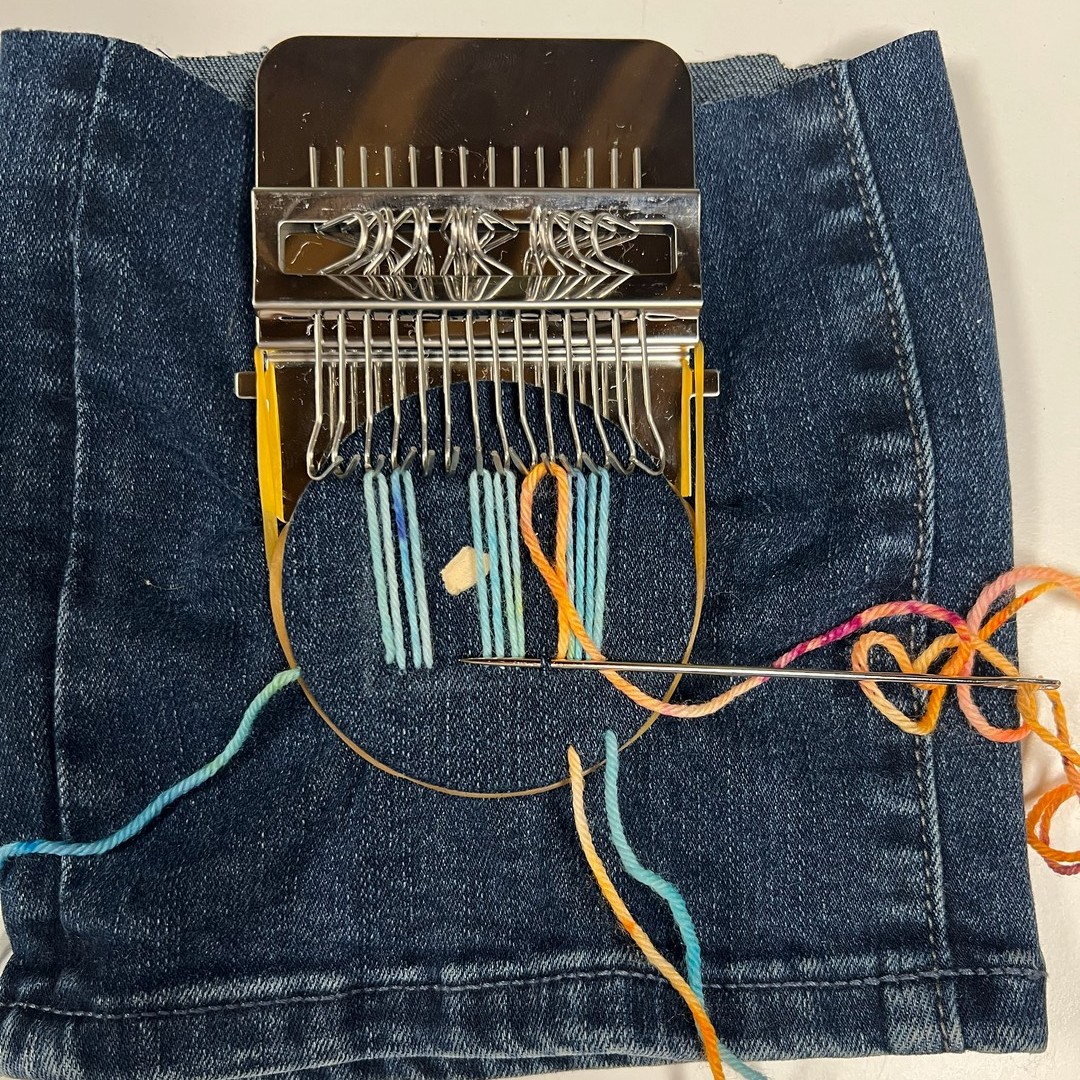
9. Here we are forming stripes with an orange warp yarn, again pushing the needle in at the side of the disc leaving a long tail, coming up at the bottom of our patch outline, then forming loops around the hooks.
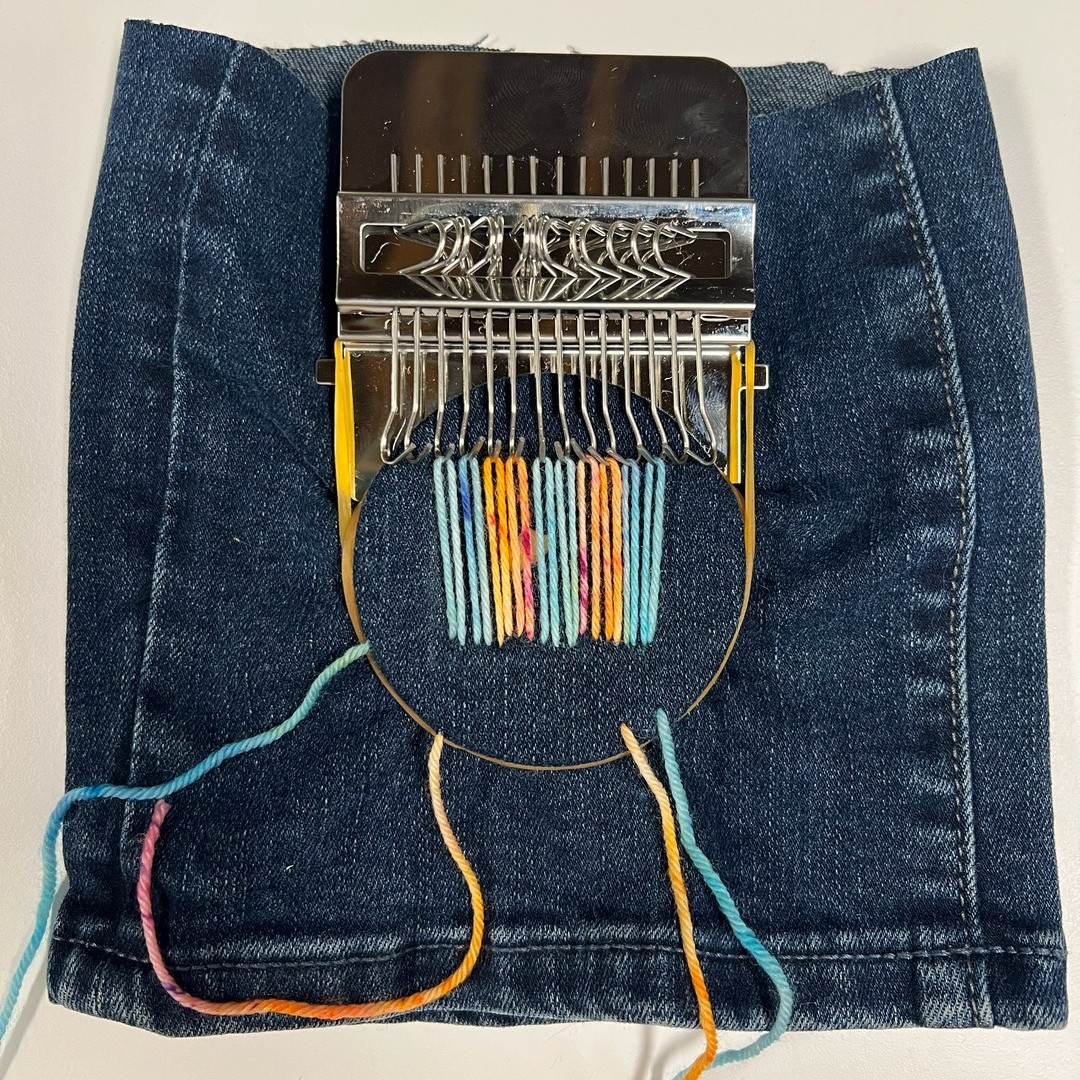
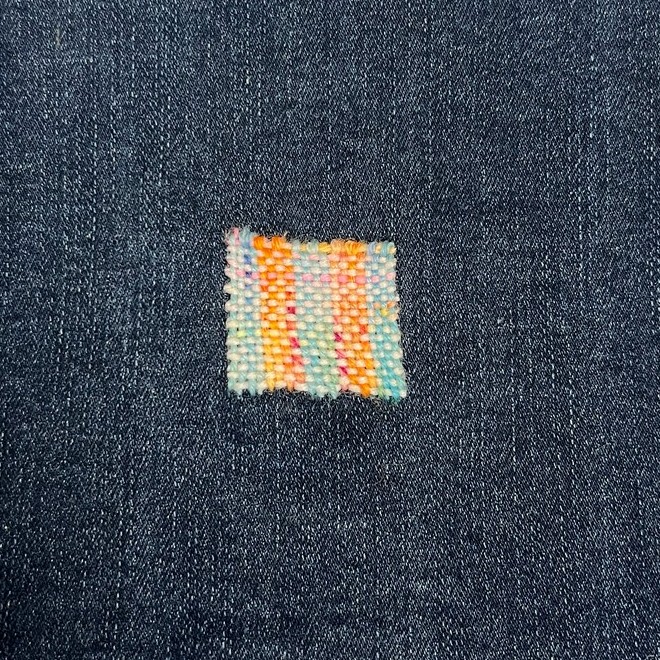
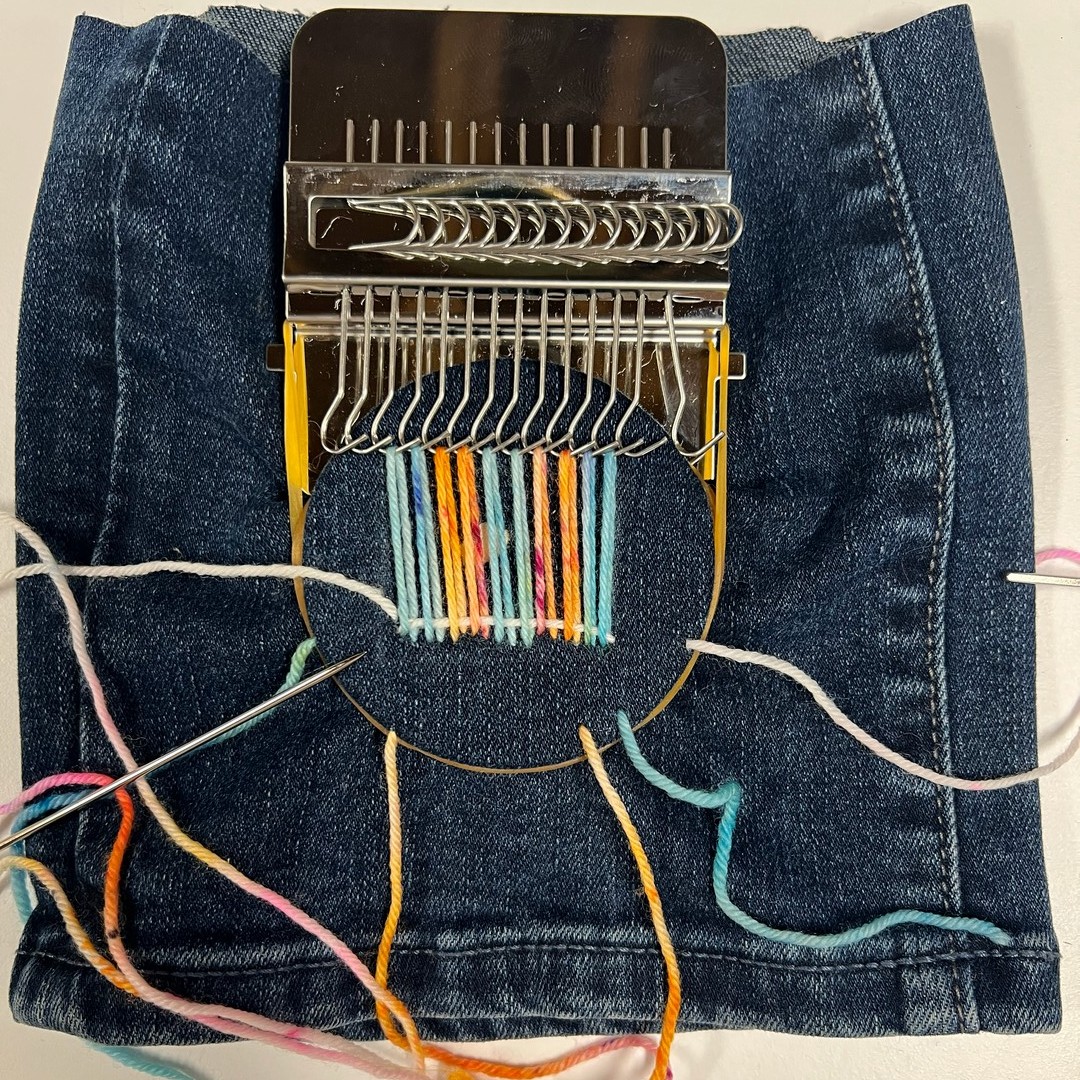
10. The finished warp stripes.
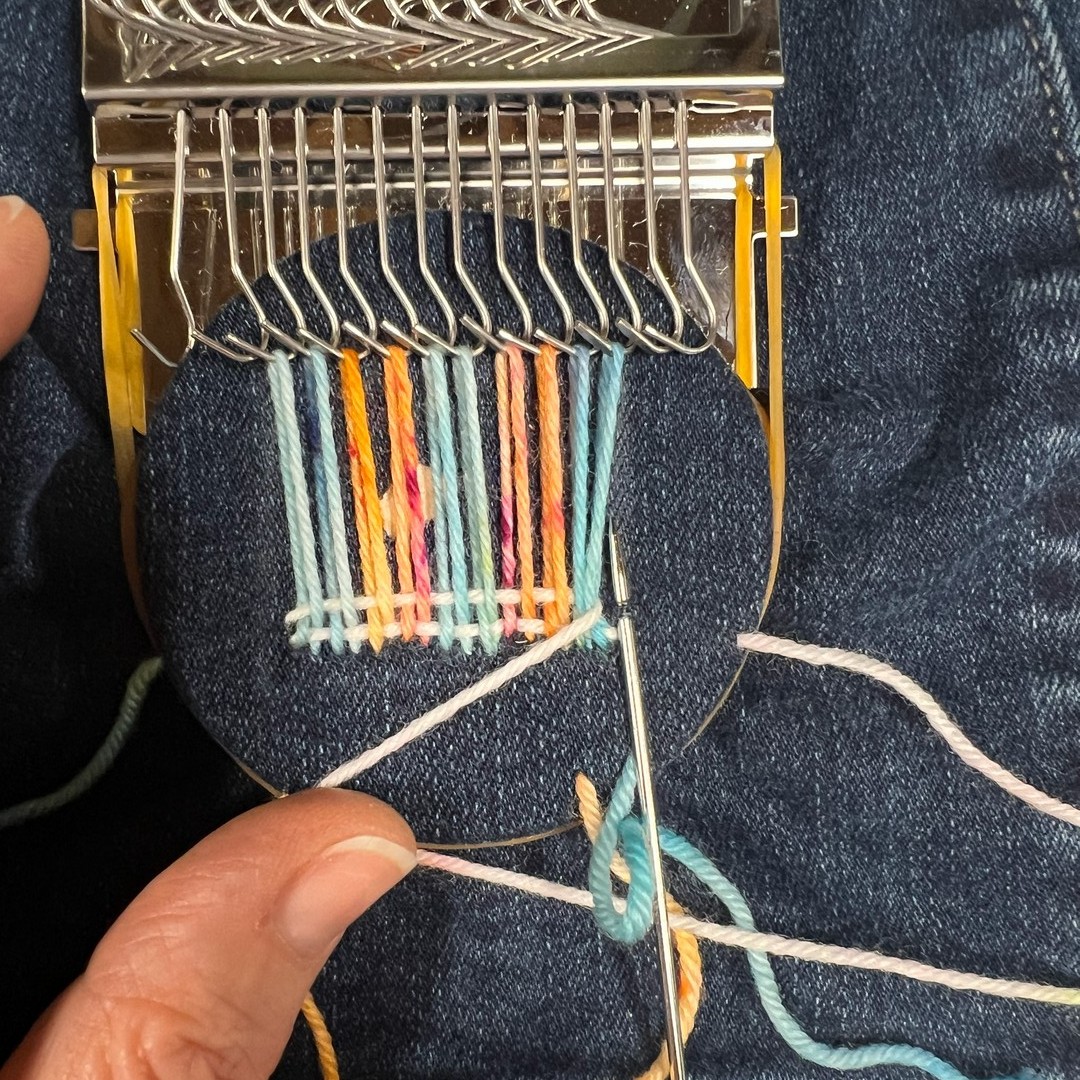
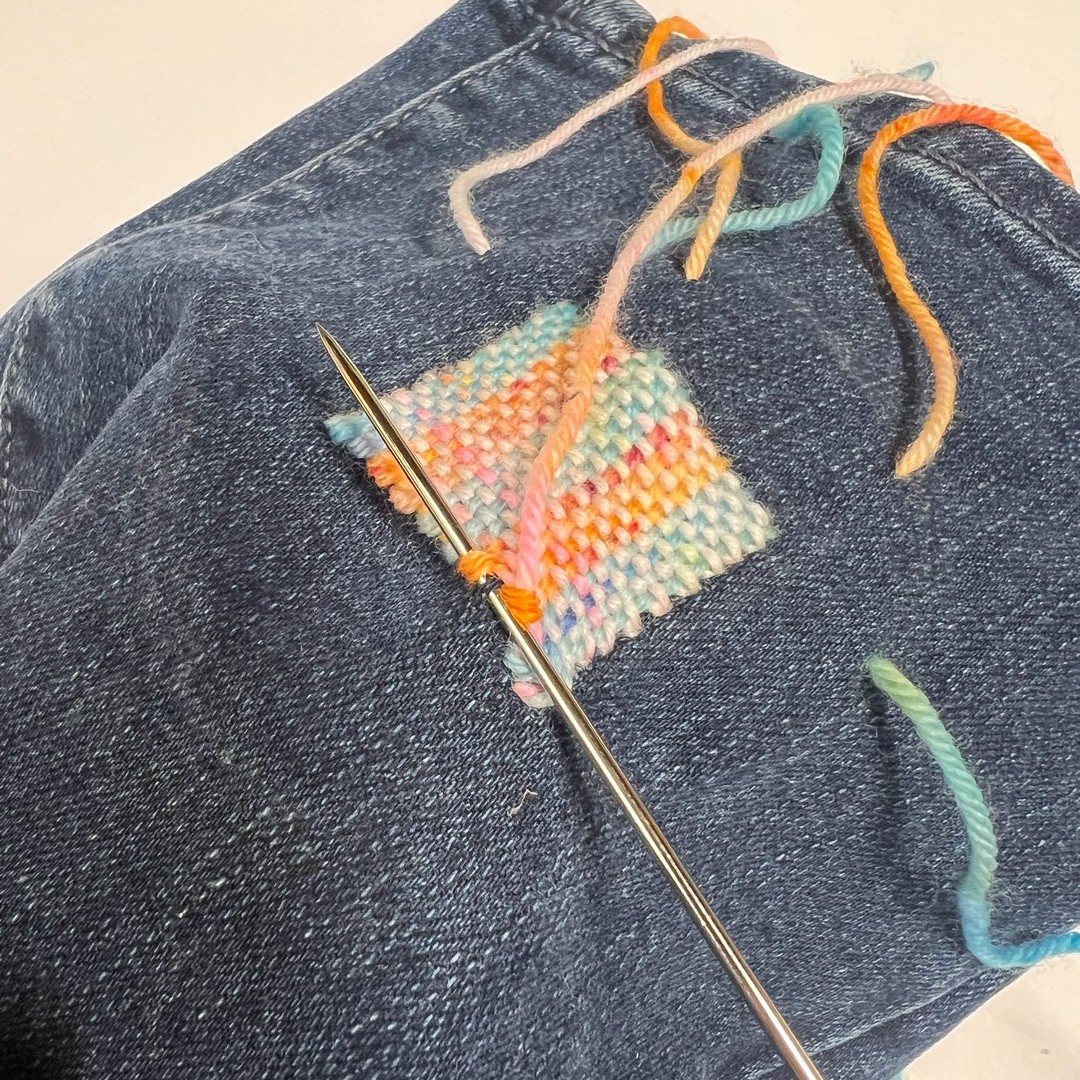
11. Now it's time to weave the weft rows. Thread your needle with a new length of yarn, push the needle into the fabric at the edge of the disc, and bring it up in the bottom corner of your patch.
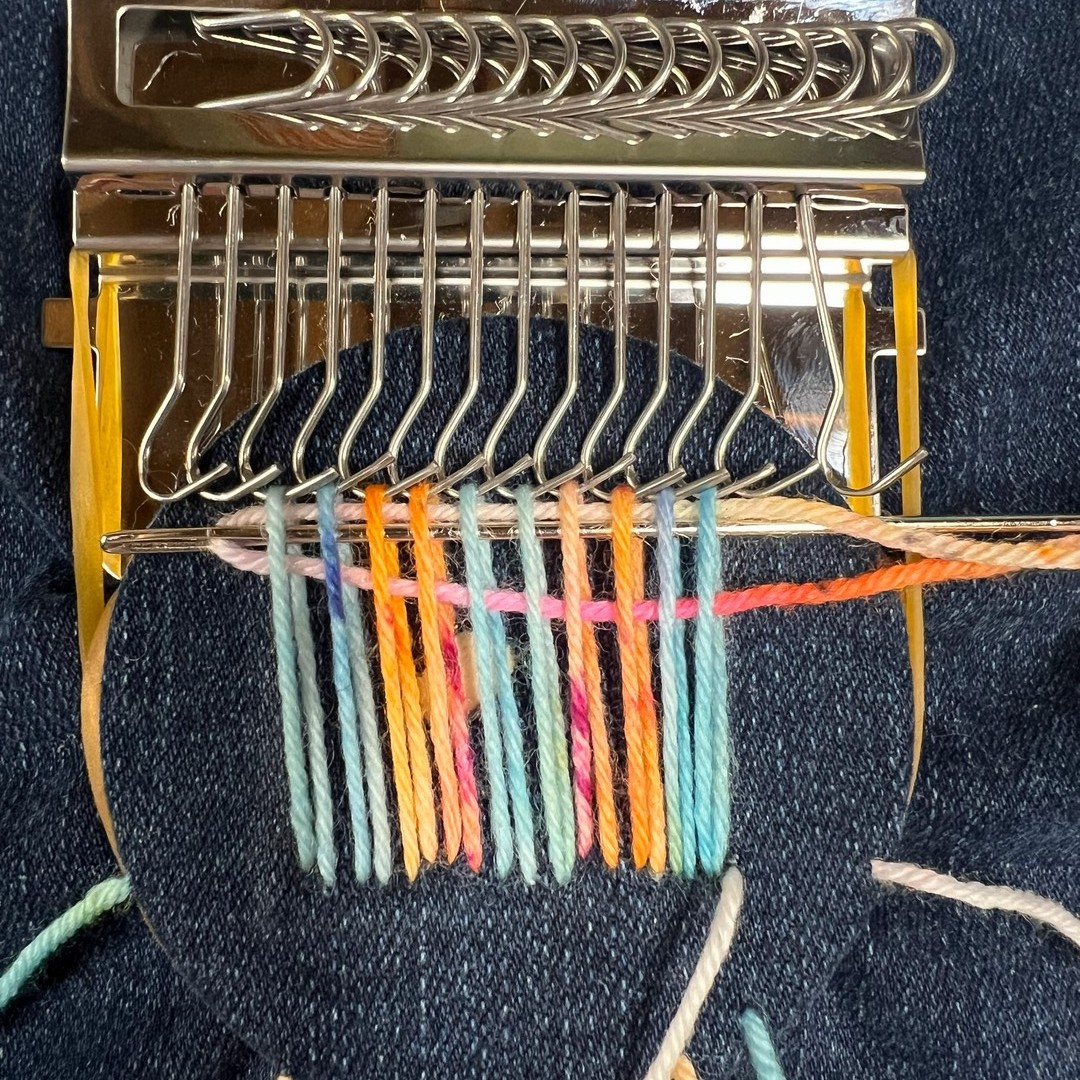
12. Push the metal loops at the top of the hook assembly to the right, so the hooks are all facing to the right. We like to have the hooks facing towards where your weft yarn is. Push the needle between the upper and lower warps (it's easiest close to the hooks with the eye of the needle first).
13. Secure the yarn to your fabric with a small stitch at the start of each row, on the patch outline at the side.
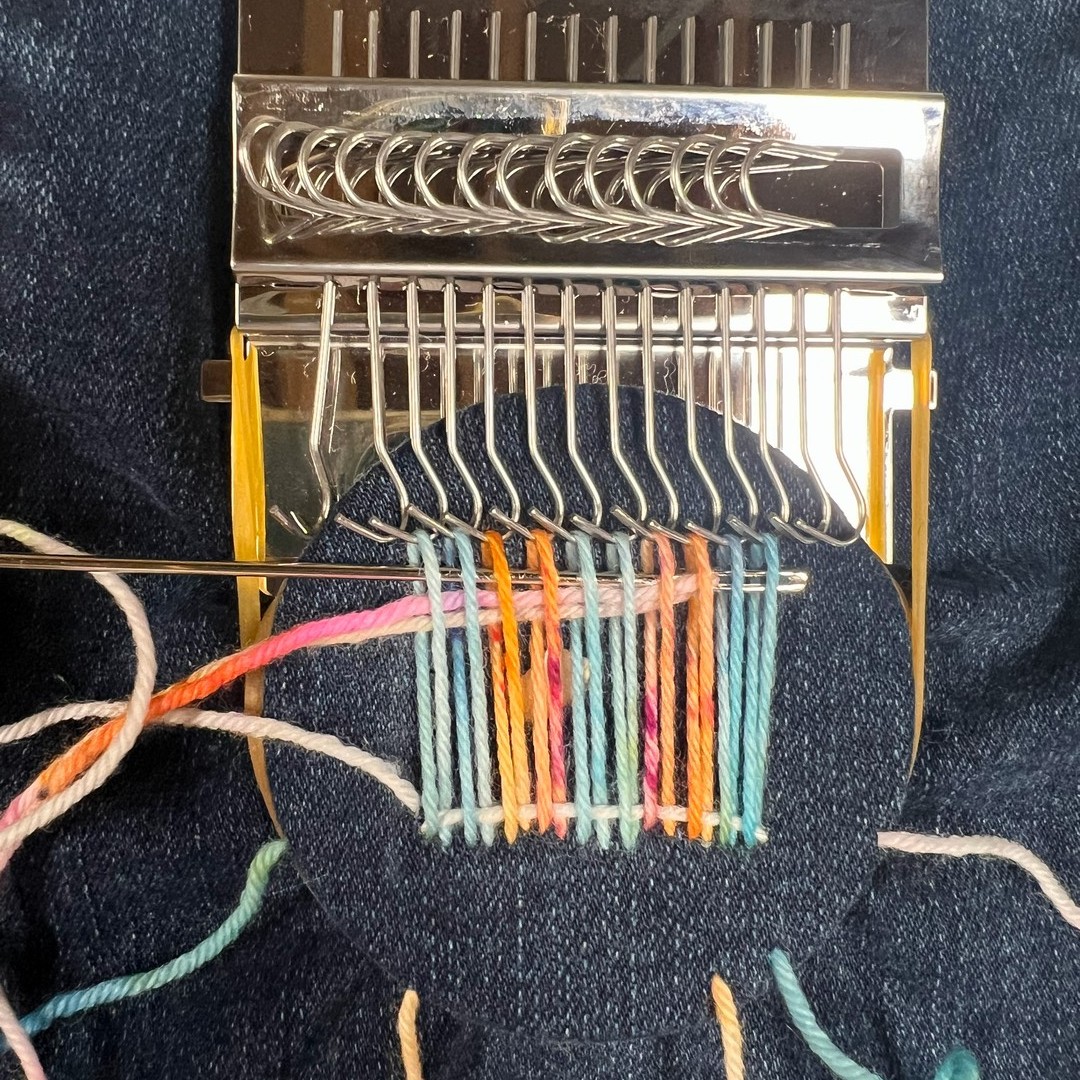
14. Flick the hooks to the opposite side to reverse the positioning of the warps.
15. You're now ready for the next row.
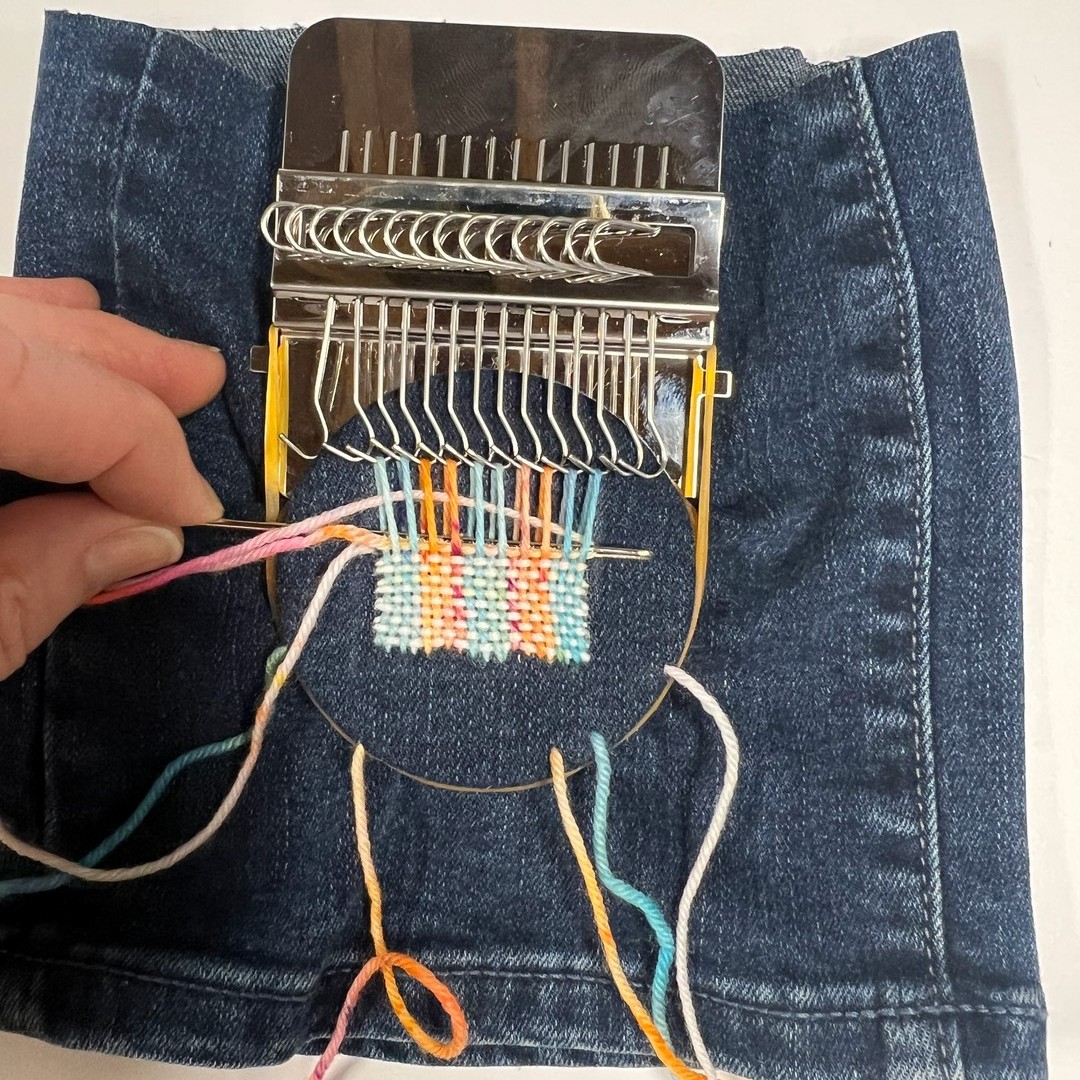
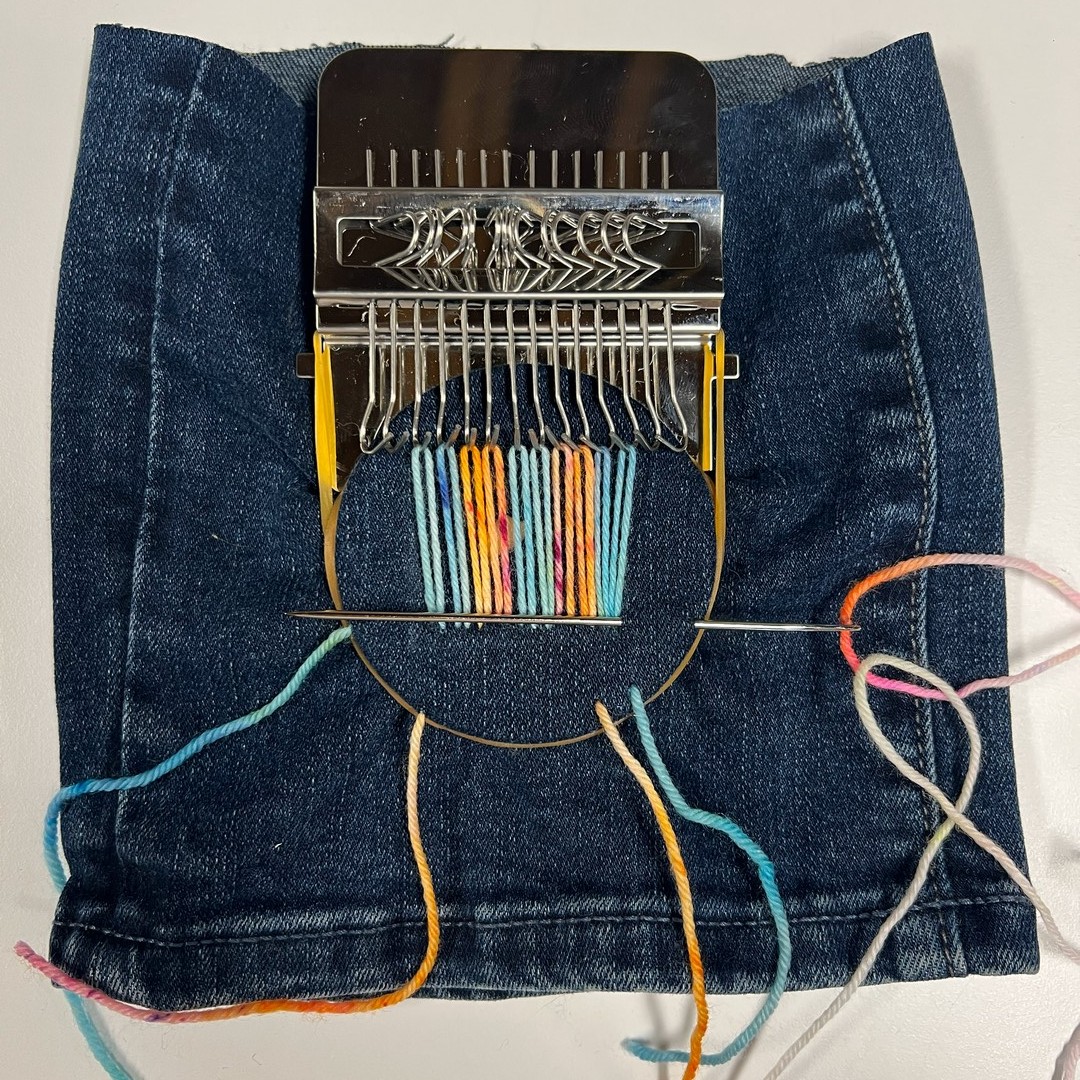
16. Work backwards and forwards. As you work each row, use your needle to press the yarn down, so your weft yarns are tightly together.
17. At the end of each row, make a small stitch at the edge to bring the needle up in the right position.
18. Keep working backwards and forwards, flicking the hooks to the opposite direction each row and pressing the yarns close together.
.jpg)
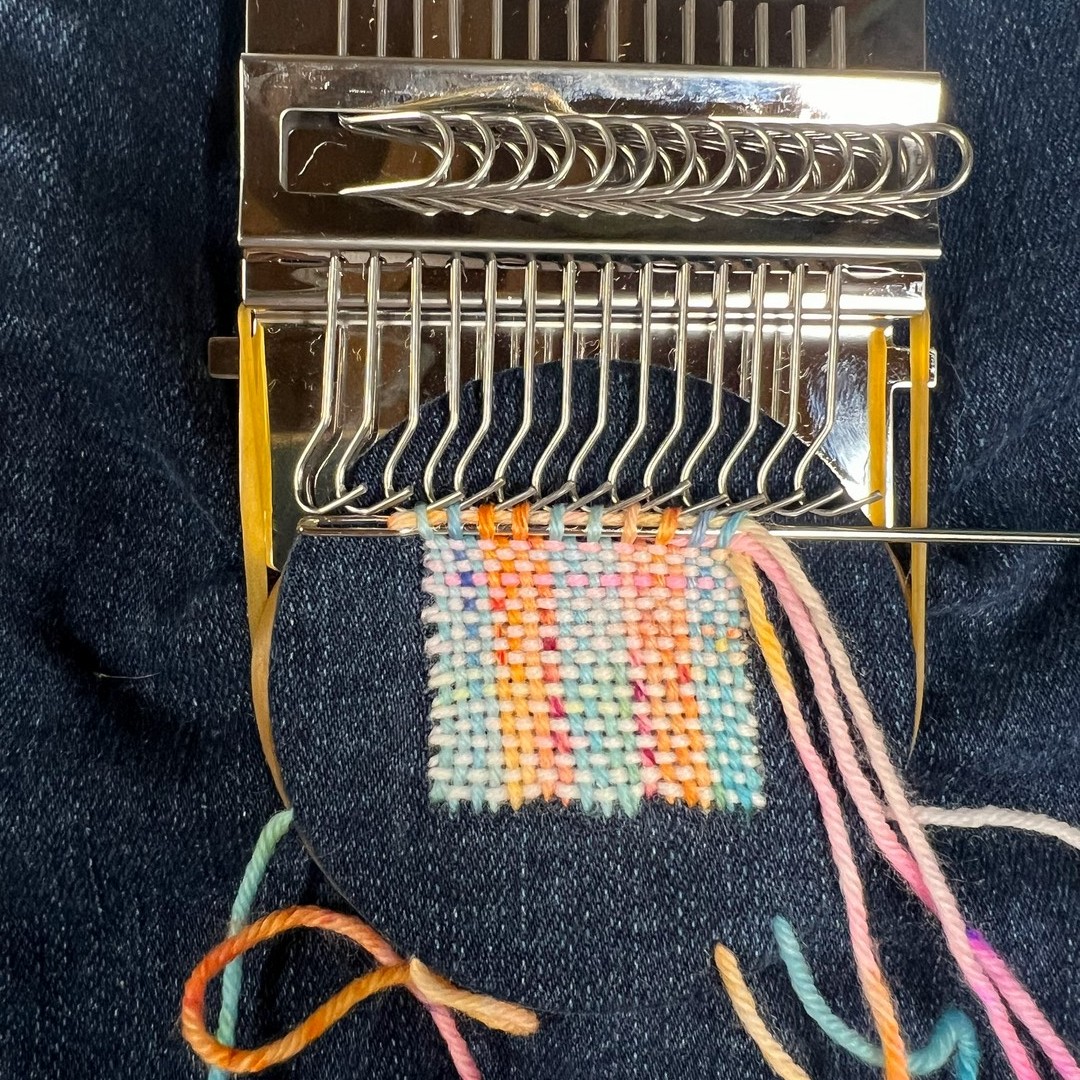
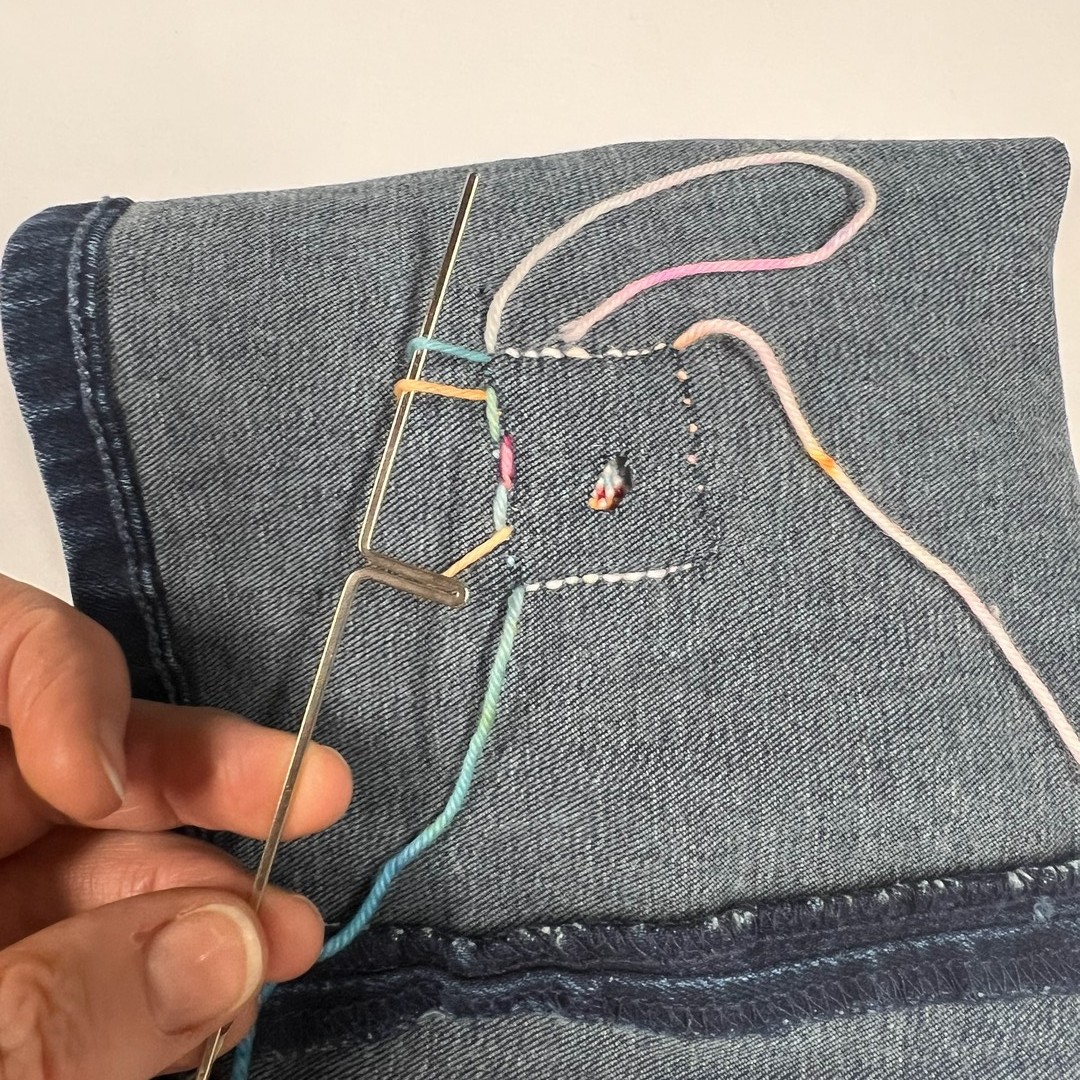
19. Repeat until you have worked as close to the hooks as possible on the last row.
20. Remove the loops from the hooks.
21. Weave your yarn through again, fastening each loop to your fabric with a small stitch as you go. Alternatively, you can leave the top of the patch open to make a small pocket.
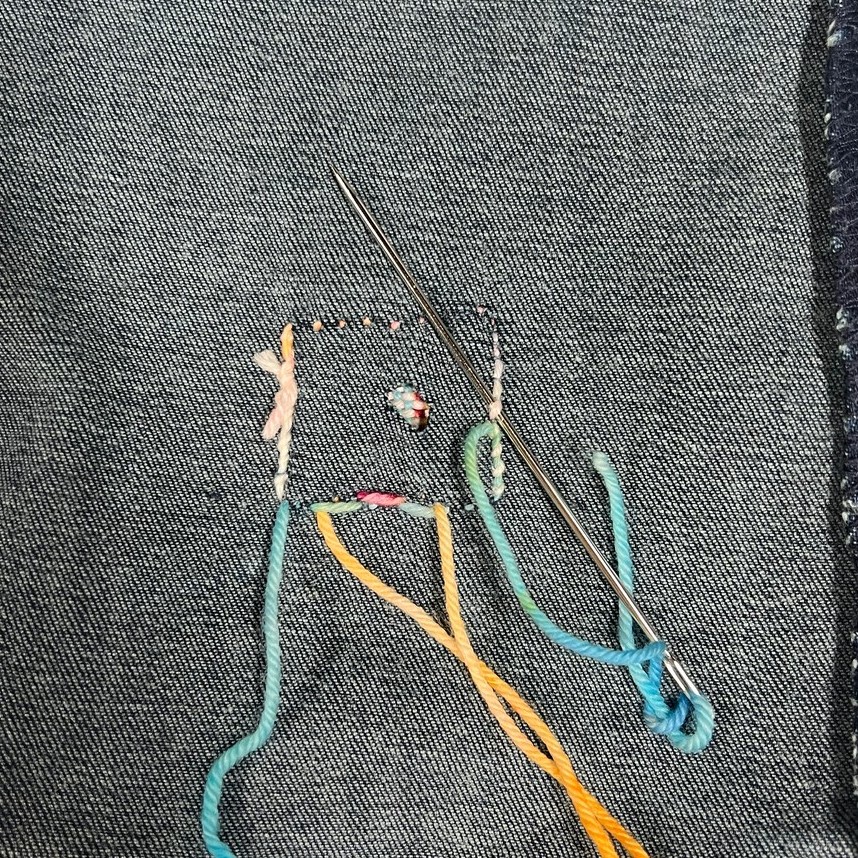
22. On the reverse (wrong side), pull each of the yarn ends through.
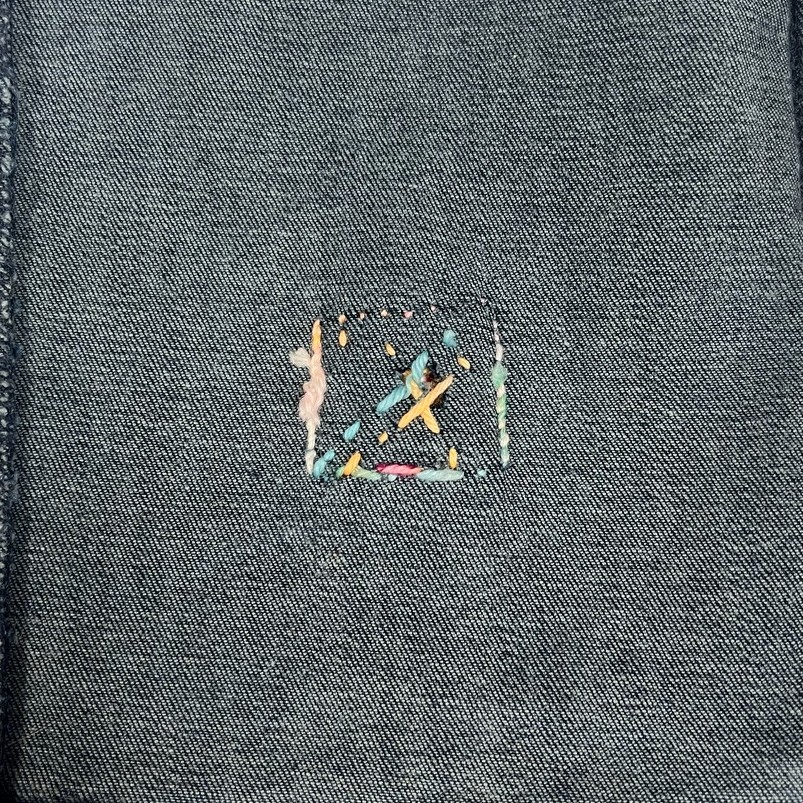
23-24. Weave the ends in so they are secure.