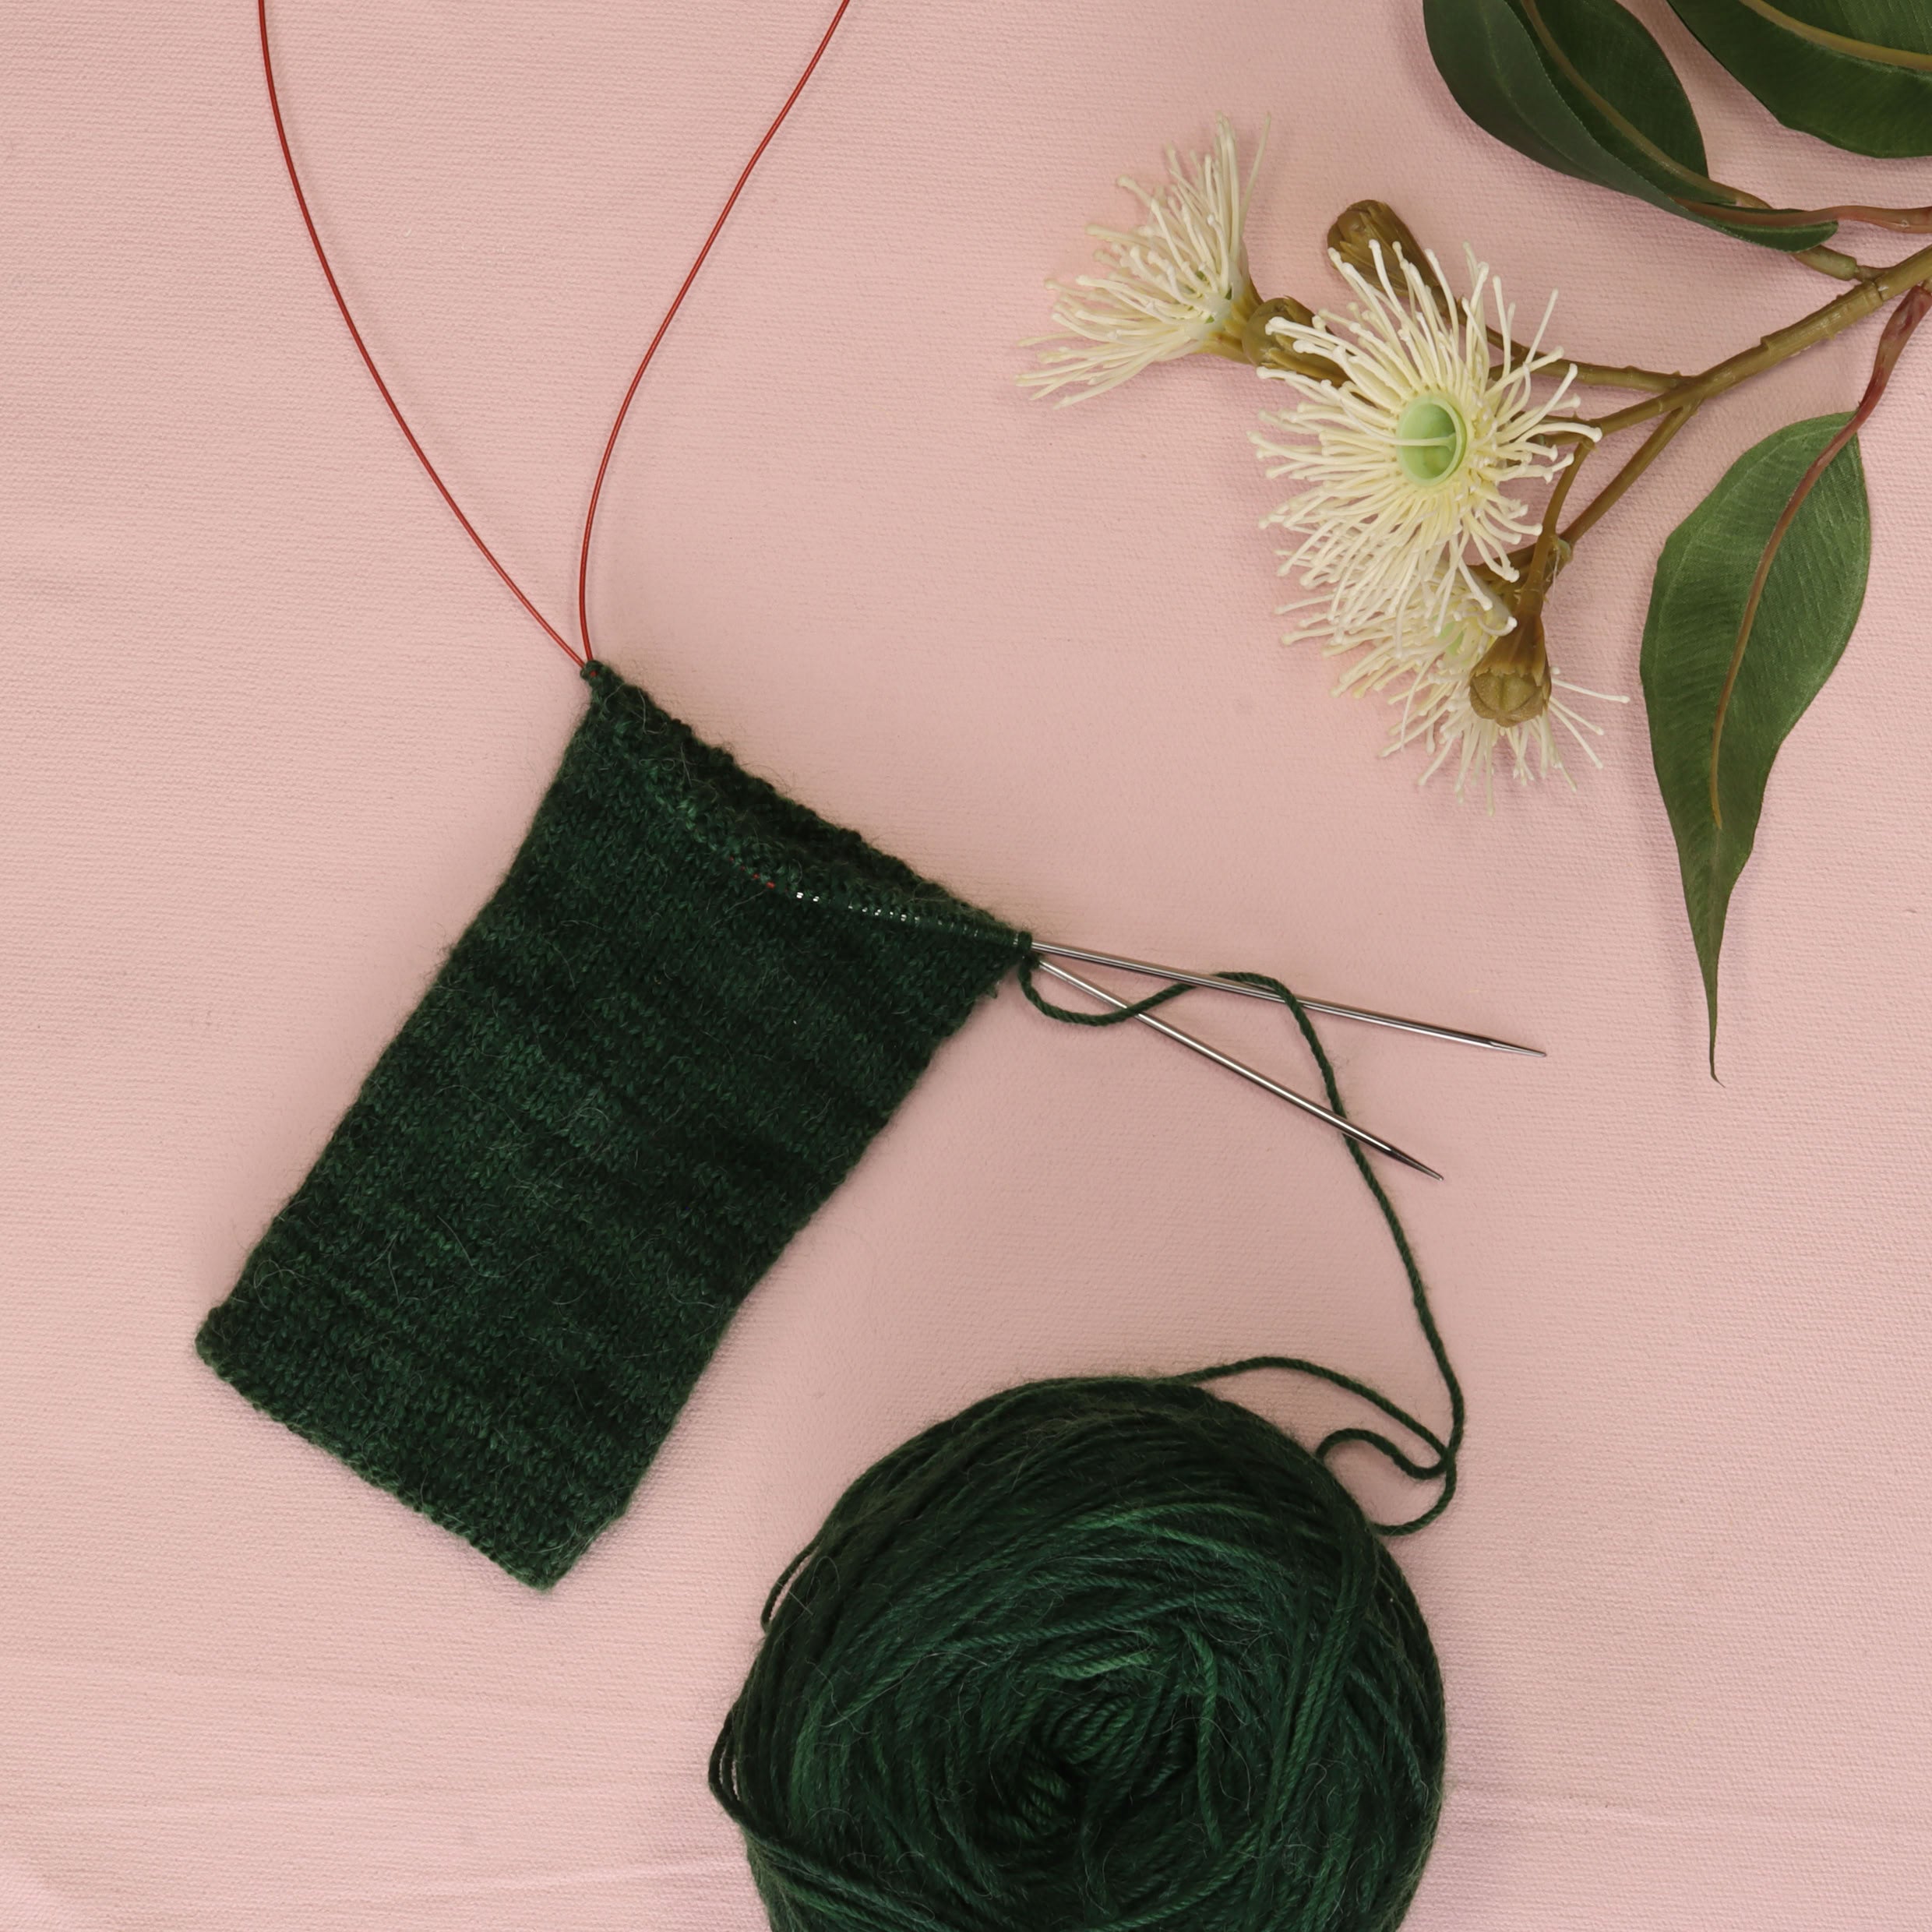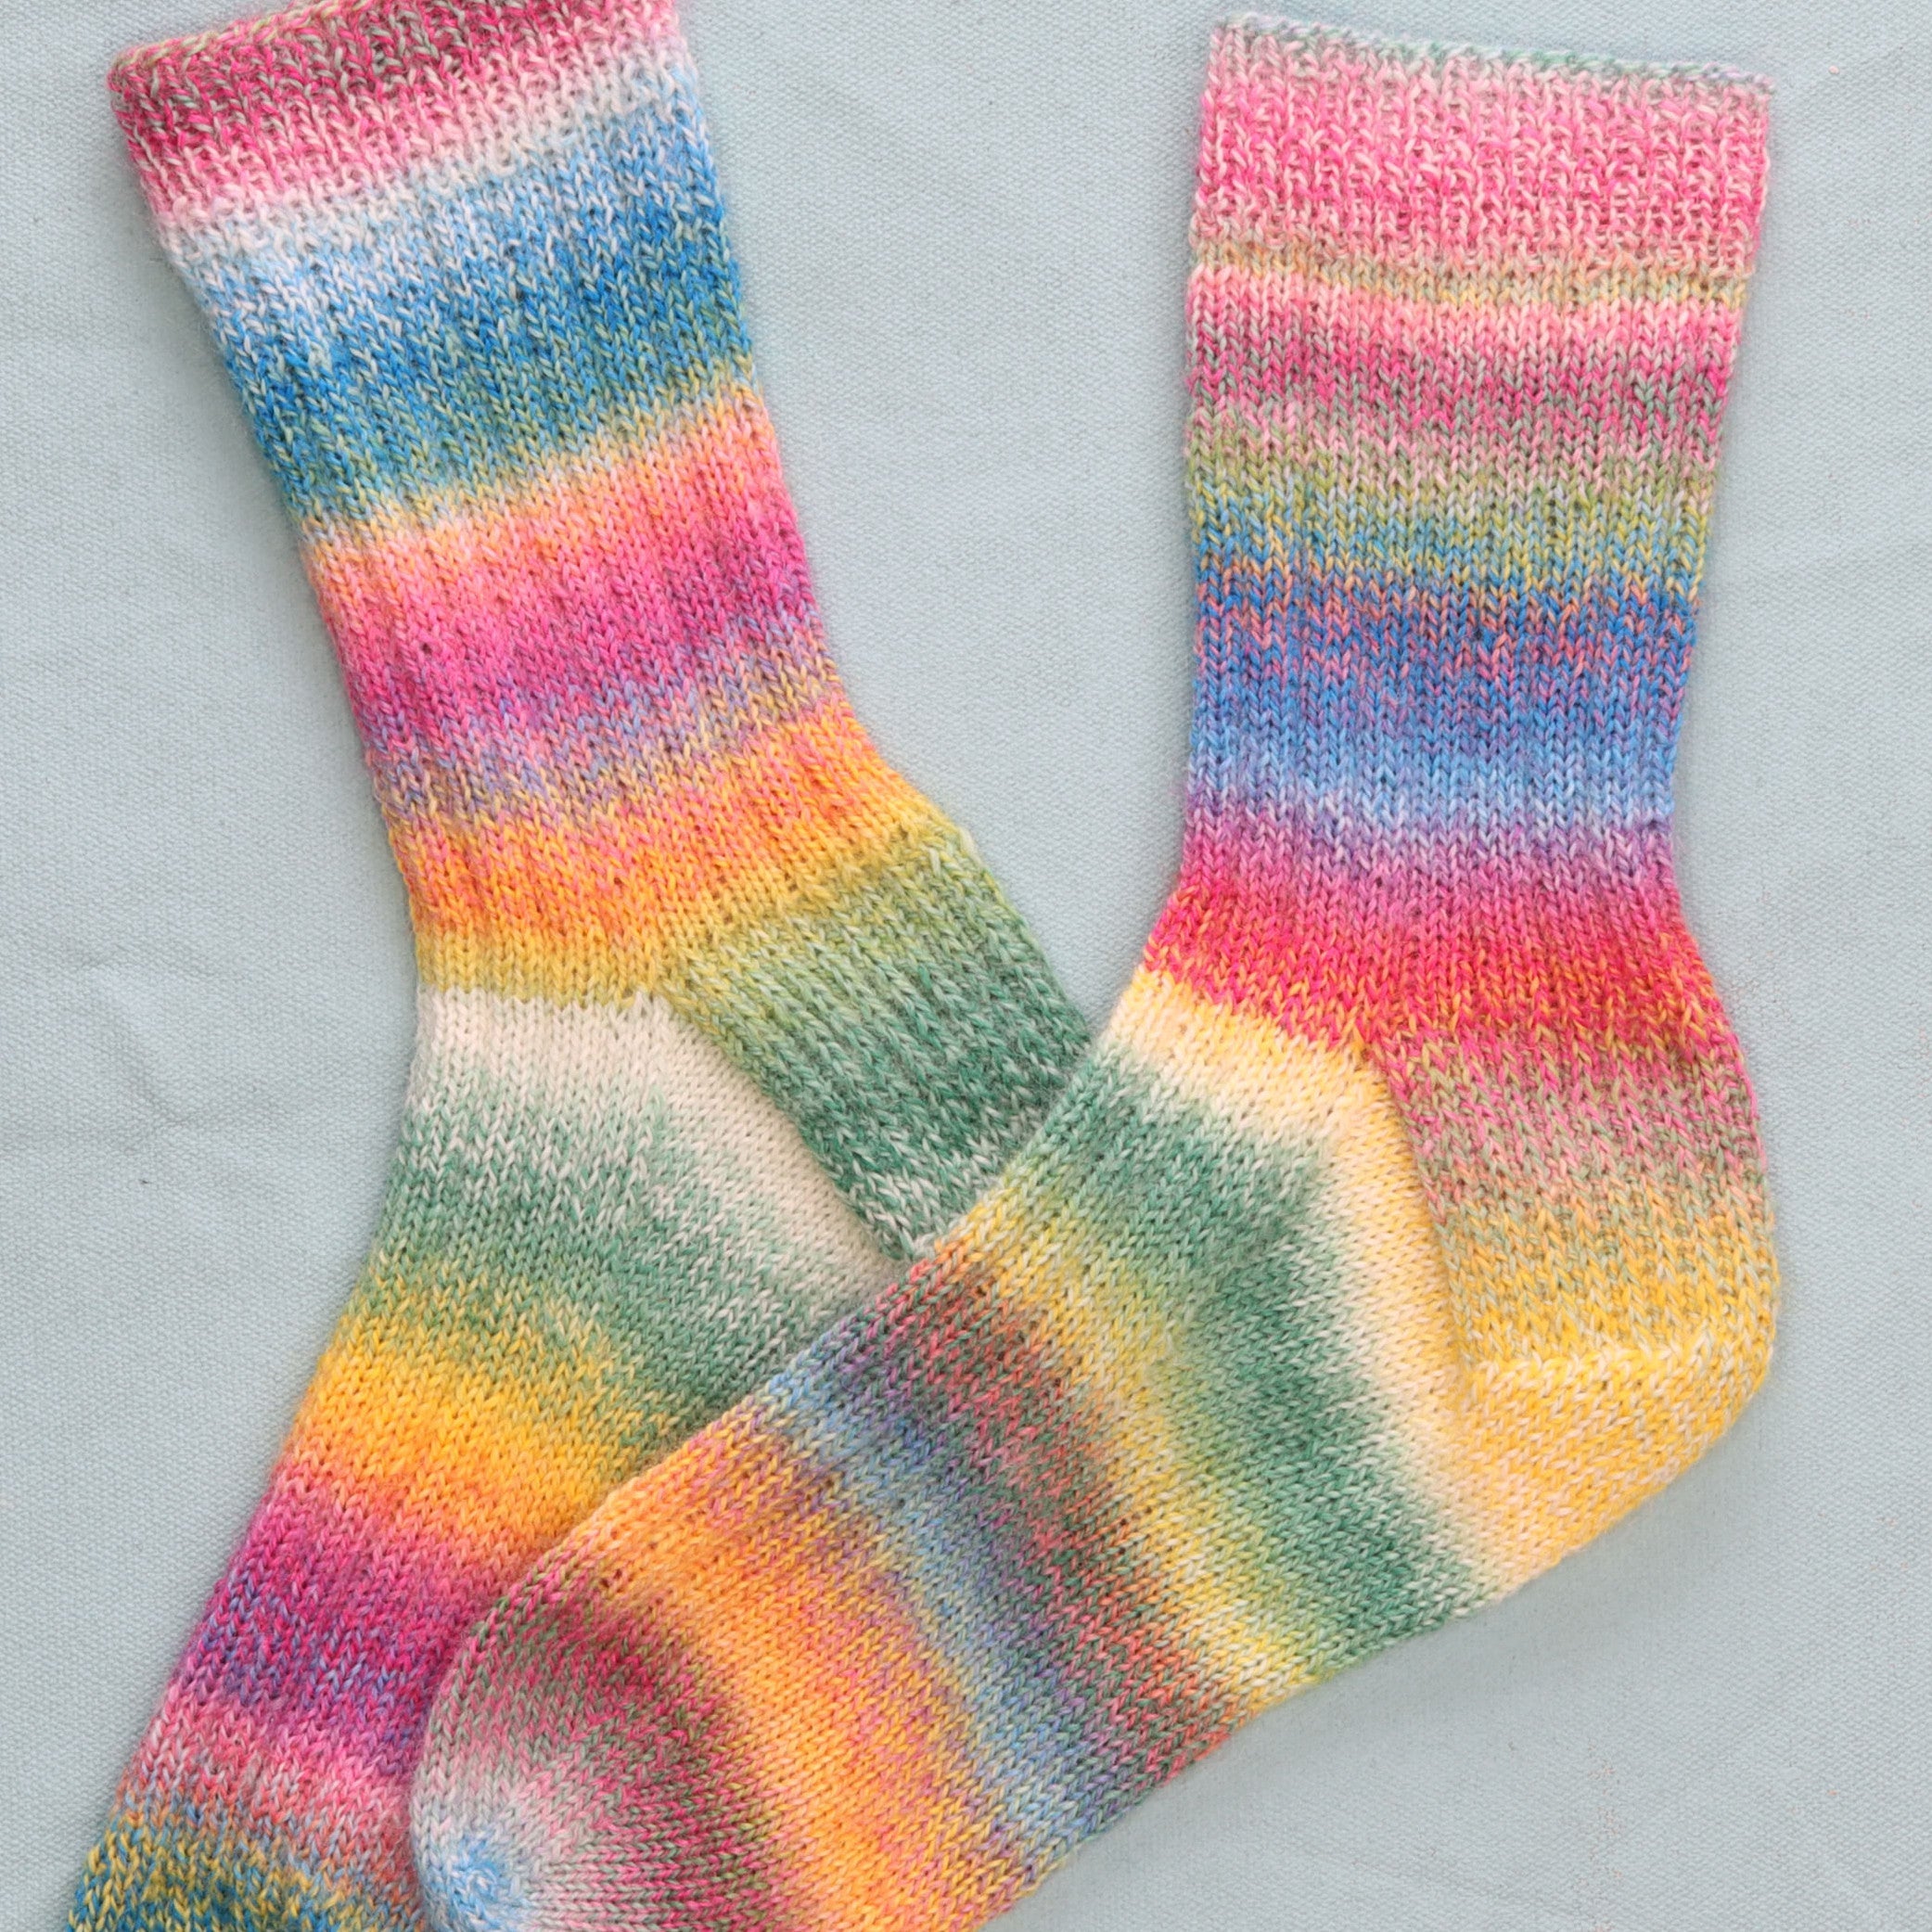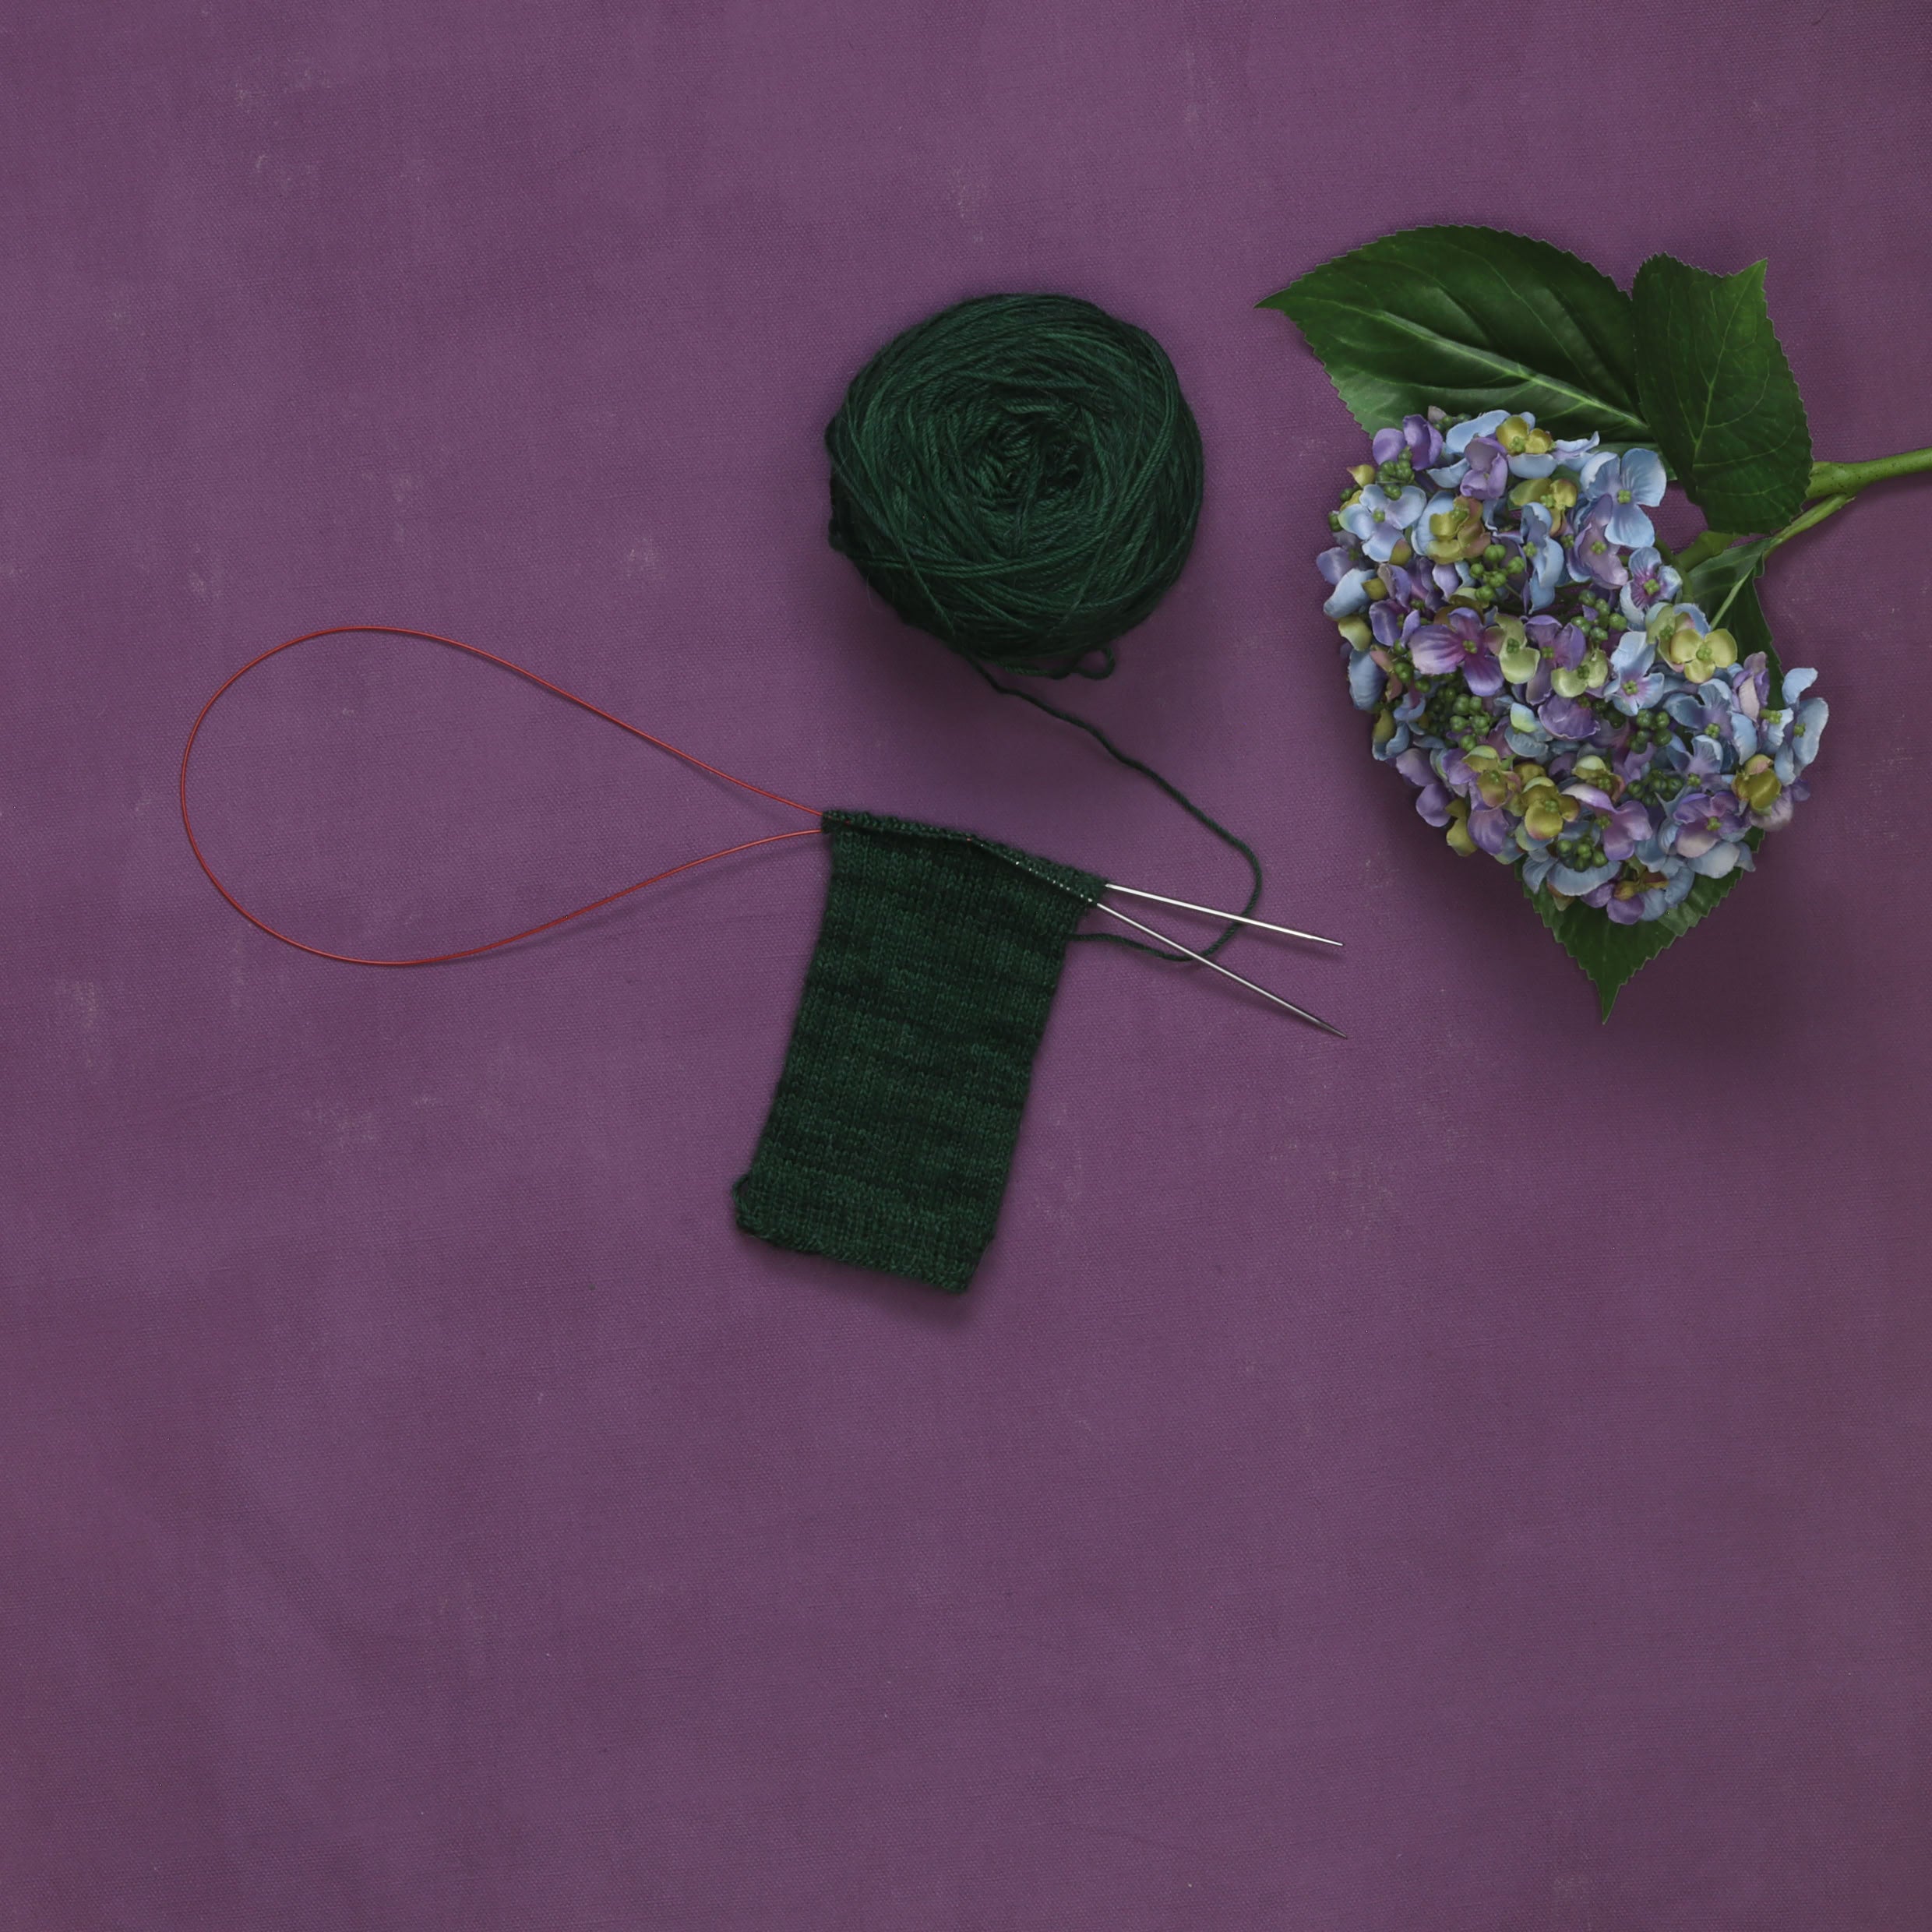

There is a particular face people make at the counter when they unfold a jumper and show us the hole. Half apology, half hope. It is almost always something they love – the cardigan they wear every winter, a favourite pair of hand-knit socks, the jeans that finally gave way at the knee.
For years the answer was a darning mushroom and a lot of patience. Then we brought in our darning looms, and honestly, they have become one of the most popular things in the shop. People come back for a second size. They bring their friends in. Nobody expected mending to be the fun part.
Nobody expected mending to be the fun part.
Why we are all mending again
'Visible mending' is the idea that a repair does not have to hide. Instead of matching your yarn to the garment and hoping nobody notices, you choose a colour that stands out and let the patch become part of the piece. A woven square of ochre on a navy sleeve. A little block of pink on the heel of a grey sock.
It sits naturally with the way a lot of us are thinking about clothes now – keeping things longer, buying with more intention, choosing natural fibres and then looking after them. A hand-knit jumper takes weeks to make. About 10 minutes with a darning loom keeps it in the wardrobe for another five years.
It is also, genuinely, lovely to do. Weaving is calming in the same way knitting is calming, and a patch is small enough to finish in one sitting.
What a darning loom actually is
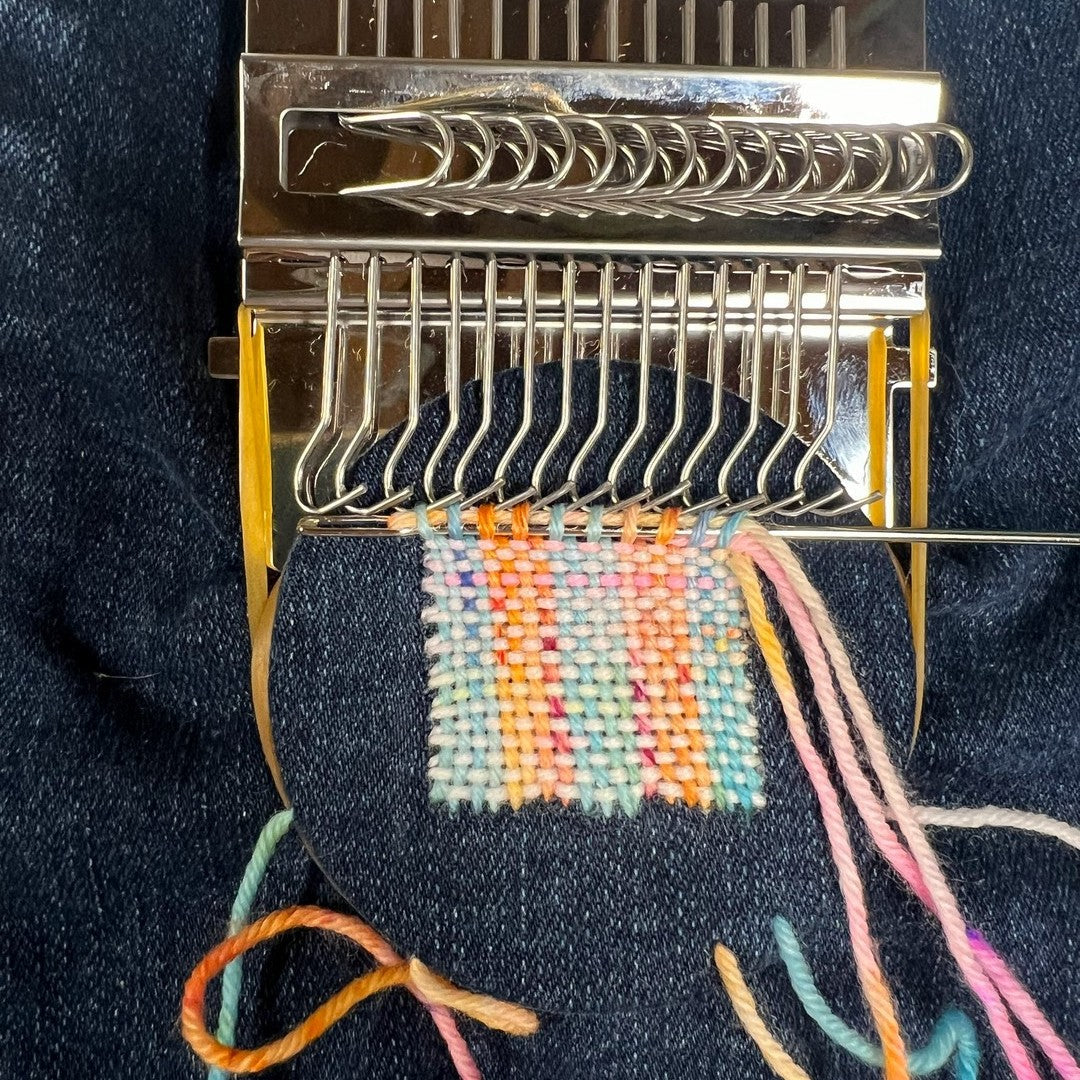
A darning mushroom gives you a firm surface to stitch against. A darning loom does more – it holds your warp threads under tension on little hooks, so you can weave a proper patch rather than working every stitch by hand. The result is neater, stronger and much faster.
Our Darning Loom Set comes in three sizes, and the one you want depends on the hole:
- Mini – 10 hooks, woven width to about 4cm. Socks, small moth holes.
- Small – 14 hooks, woven width to about 5.5cm. Elbows, most jumper holes.
- Large – 28 hooks, woven width to about 10.5cm. Knees, bigger patches, decorative panels.
Each set includes the metal hook assembly, a grooved timber disc, a 10cm steel tapestry needle, a 13.5cm steel latch hook and rubber bands.

What else you need
- The garment or fabric with the hole
- Thin yarn – 4ply or sock weight or finer, or embroidery thread
- A fabric pencil, for marking the patch outline
- Scissors
If you are not sure what weight your yarn is, our guide to yarn weights and ply sorts it out in a minute. The short version: anything chunkier than a 4ply makes a patch that sits proud of the fabric and catches on things.
This is what the leftovers are for
Here is the lovely part. A patch takes almost nothing – a couple of metres, less for a sock. All those ends you could not bring yourself to throw out, the last of a skein sitting in the bottom of the project bag, the odd metre left after a pair of socks: this is the job they have been waiting for.
Our own Fabulous Sock is ideal for mending – smooth, hard-wearing and hand-dyed here in Dulwich Hill, so it holds up to a sock heel or an elbow. And if you have nothing in the basket that works with the garment, the Fabulous Sock Minis are 20g each, which is a lot of patches for very little, and an easy way to find a colour that sings against the fabric.
Setting up
- Choose your loom size, depending on the size of the patch you want to make.
- Mark the outline of your patch, if you like, with a fabric pencil or a line of basting.
- Place the timber disc at the back of your work, behind the hole.
- Stretch and smooth your fabric over the disc, using a rubber band to secure it into the groove.
- Position the hook assembly at the top and push it as far as it will go into the groove around the disc.

Setting up your warp
The 'warp' is the set of threads running top to bottom. They are what you weave across.
- With your hooks as upright as you can get them, loop your yarn around the first hook, then go back into the fabric at the bottom of your patch. Come up a couple of millimetres to the left.
- Continue forming loops around each hook, in whatever pattern you like, using as many hooks as you need to cover the hole.
- Change colours as you go if you want stripes – the warp is where vertical stripes come from.

Weaving the weft
The 'weft' runs side to side, over and under the warp. This is where the hooks earn their keep: instead of picking over and under with your needle, you flick the hooks across and the loom does the picking for you.
- Thread your needle with a new length of yarn and push the needle into the fabric at the edge of the disc.
- Push the metal loops at the top of the hook assembly to the right, so the hooks all face the same way.
- Secure the yarn to your fabric with a small stitch at the start of each row, on the patch outline at the side.
- Weave across.

- Flick the hooks to the opposite side to reverse the position of the warps. You are ready for the next row.
- Work backwards and forwards. As you finish each row, use your needle to press the yarn down so the weft sits tightly together.
- At the end of each row, make a small stitch at the edge to bring the needle up in the right position.
- Keep going, flicking the hooks the other way each row and pressing the yarns close.
That flick is the whole trick, and it is the bit that is hard to picture until you have done it once. You are pushing the little loops across so every warp thread swaps sides, which is what puts your needle on the right side of each one for the next row.

Finishing off
- Repeat until you have woven as close to the hooks as you can on the last row.
- Remove the loops from the hooks.
- Weave your yarn through the loops again, fastening each one to the fabric with a small stitch as you go. Or leave the top open to make a small pocket.
- Turn the work over and pull each of the yarn ends through to the wrong side.
- Weave the ends in so they are secure.

That is the patch done. Take the rubber band off, slide the disc out, and have a look at it in the light.

Two things to try once you have the hang of it
Edge fringes
Instead of looping the yarn directly back on itself at the edges, leave a double length fringe loop at the bottom of the patch when you set up your warps, and a single length loop at each end when you weave your weft rows. Secure each end of these loops to the fabric with a small stitch before weaving into the patch. Once the hooks are off, pull half of the bottom loops through to the top, then secure your last row as above and cut the fringes to the length you want.
A longer patch
Make your patch as long as you like by leaving warp loops along the bottom. Once you have worked up to the hooks, reposition your fabric on the disc, pull the warps up through the patch and carry on weaving.
Shapes other than a square
Nothing says a patch has to be a rectangle. Because you choose how many hooks to use and how long each weft row is, you can shape as you go – start narrow, widen through the middle, narrow again and you have a circle. Work two small lobes and bring them down to a point and you have a heart. Diamonds, leaves, a little cloud on the elbow of a jumper.
Mark the shape on the fabric first with your fabric pencil and weave to the line, shortening or lengthening each row to follow it. It is the same technique throughout – you are just deciding where each row stops.
A few things we have learned
- Go finer than you think. A 4ply patch on an 8ply jumper looks intentional. An 8ply patch on an 8ply jumper looks like a lump.
- Press each row down properly. A loose weft is the difference between a patch that lasts and one that pulls apart in the wash.
- Mark your outline first if the hole has soft edges. It is much easier to weave to a line than to guess.
- Contrast is your friend. A repair you can see is a repair you are proud of, and it hides far less than a not-quite-matching one.
Go and find the hole
There is one somewhere – the sleeve you have been avoiding, the socks you stopped wearing, the jeans in the bottom drawer. Pick the brightest leftover you own and make the repair the best-looking part of the garment.
Everything you need is in the Darning Loom Set, and the rest of the mending tools are here too.
Debx