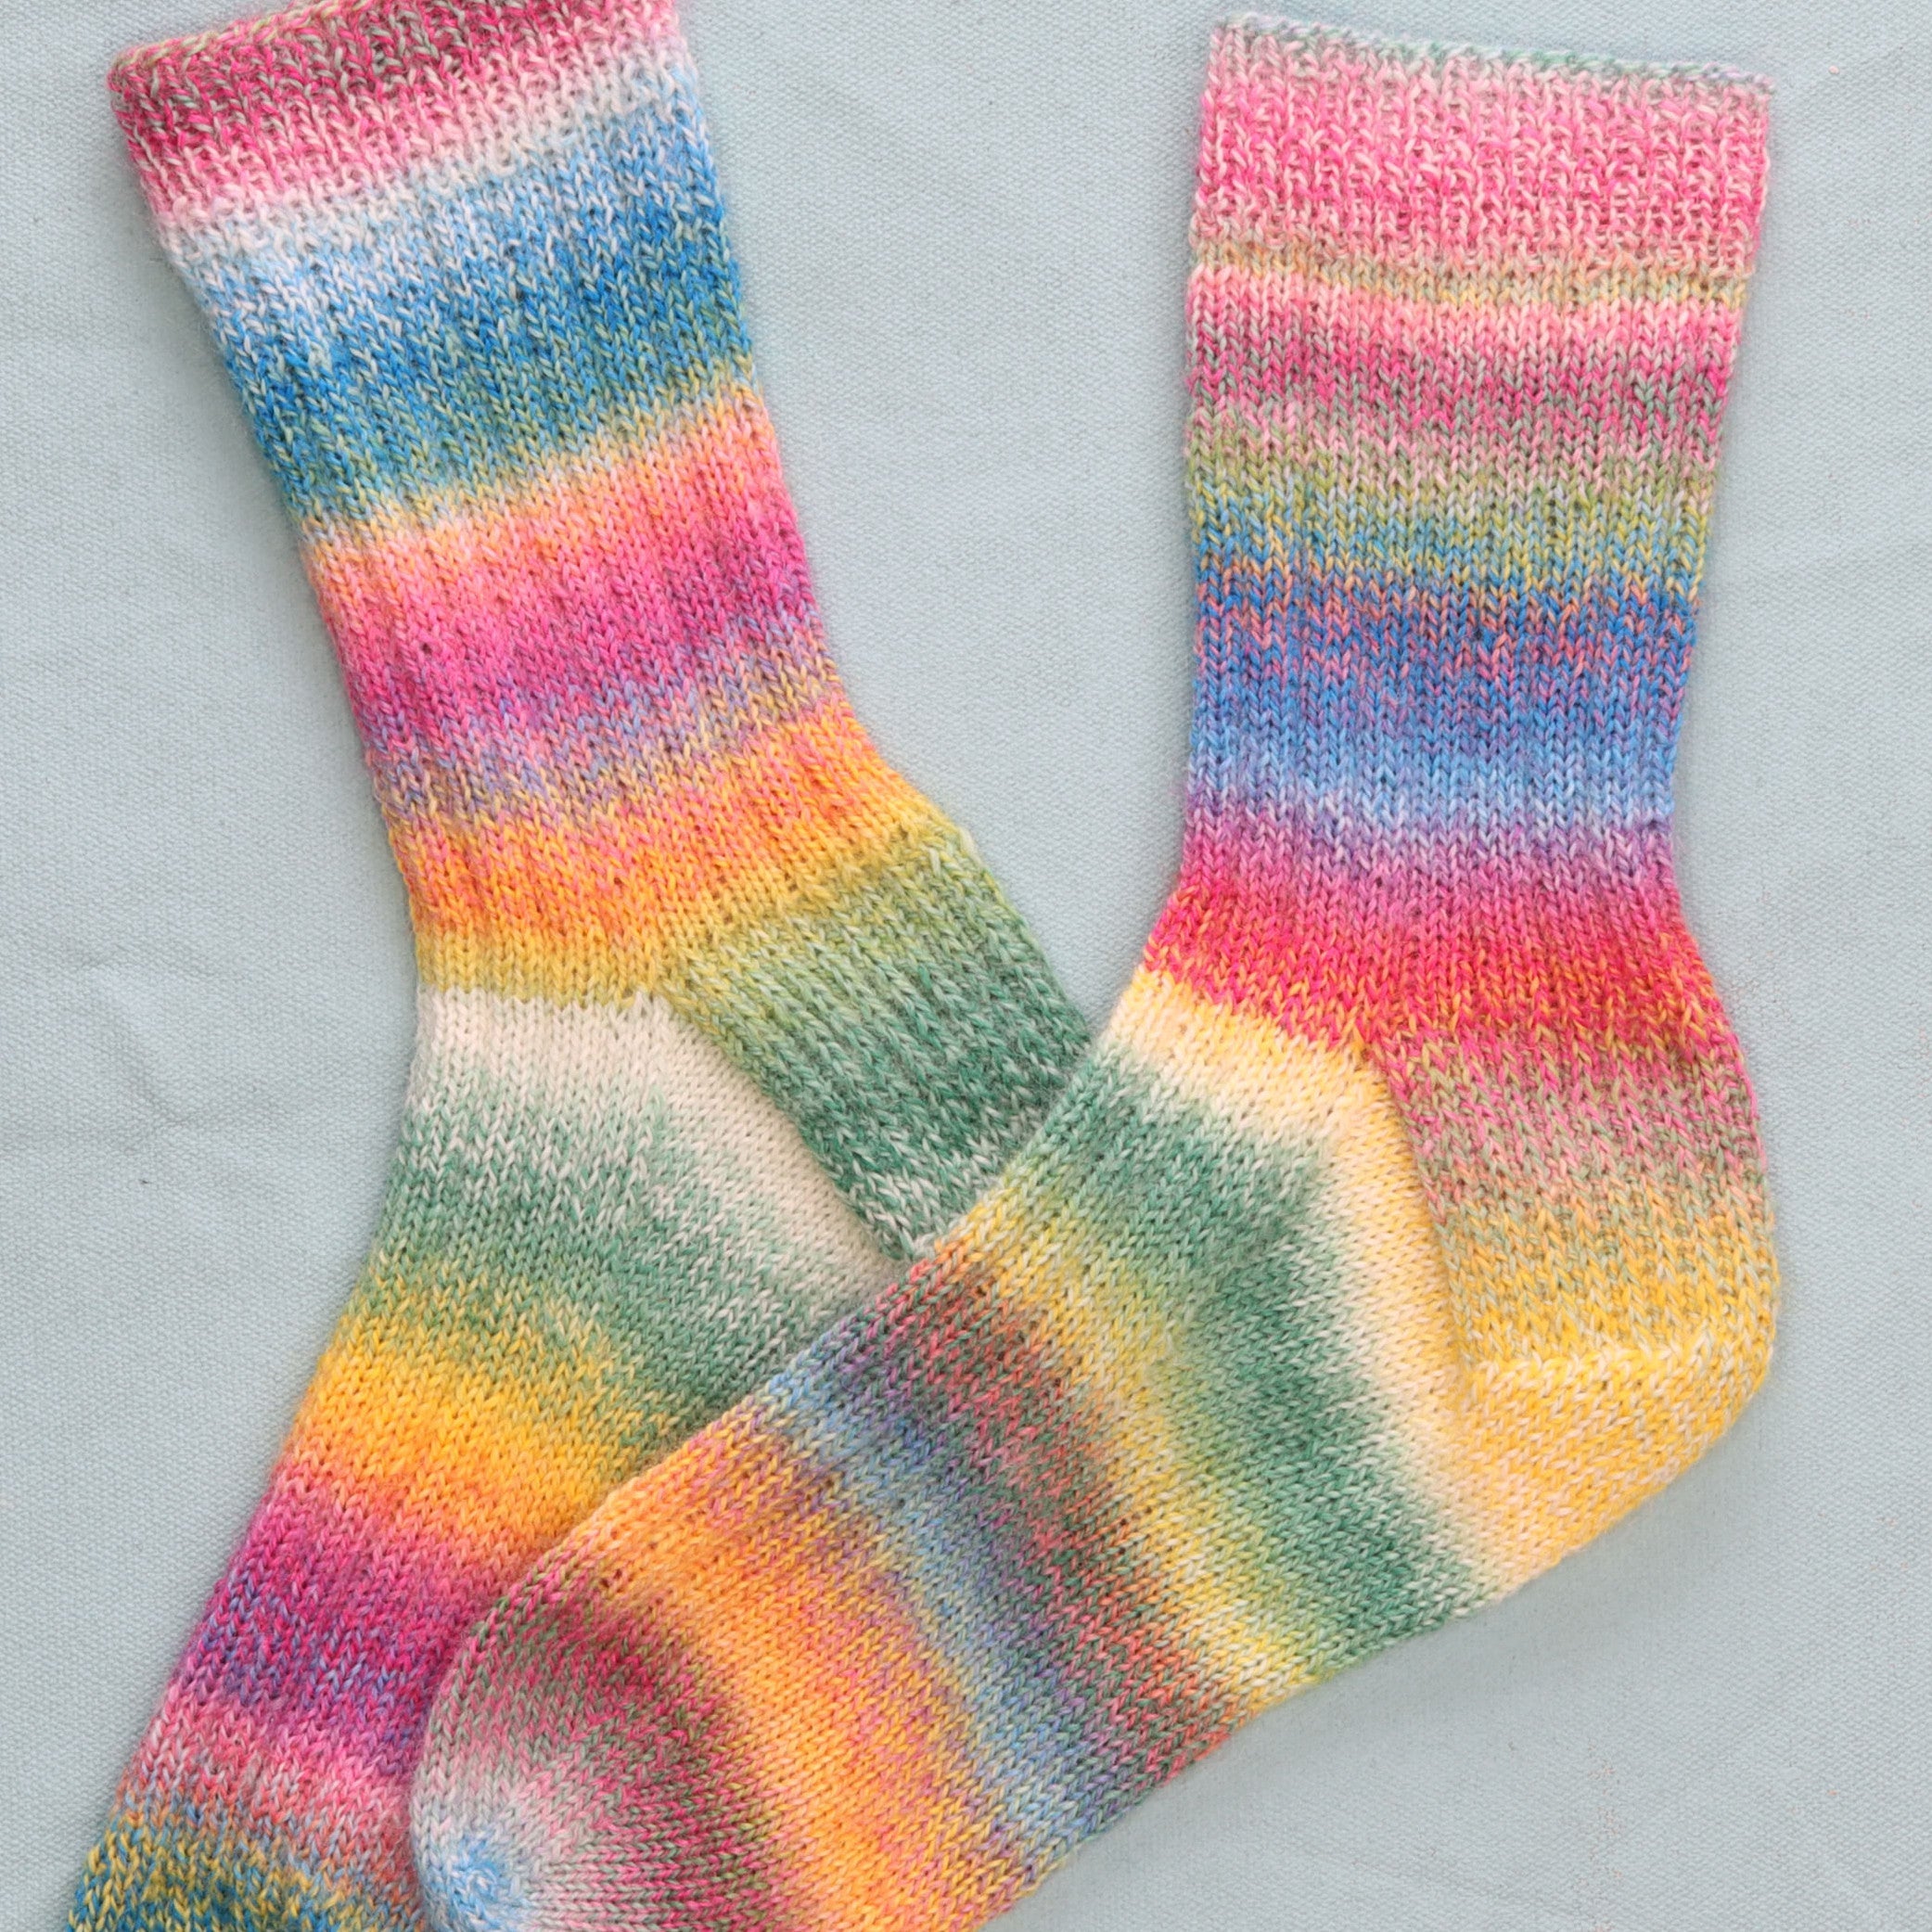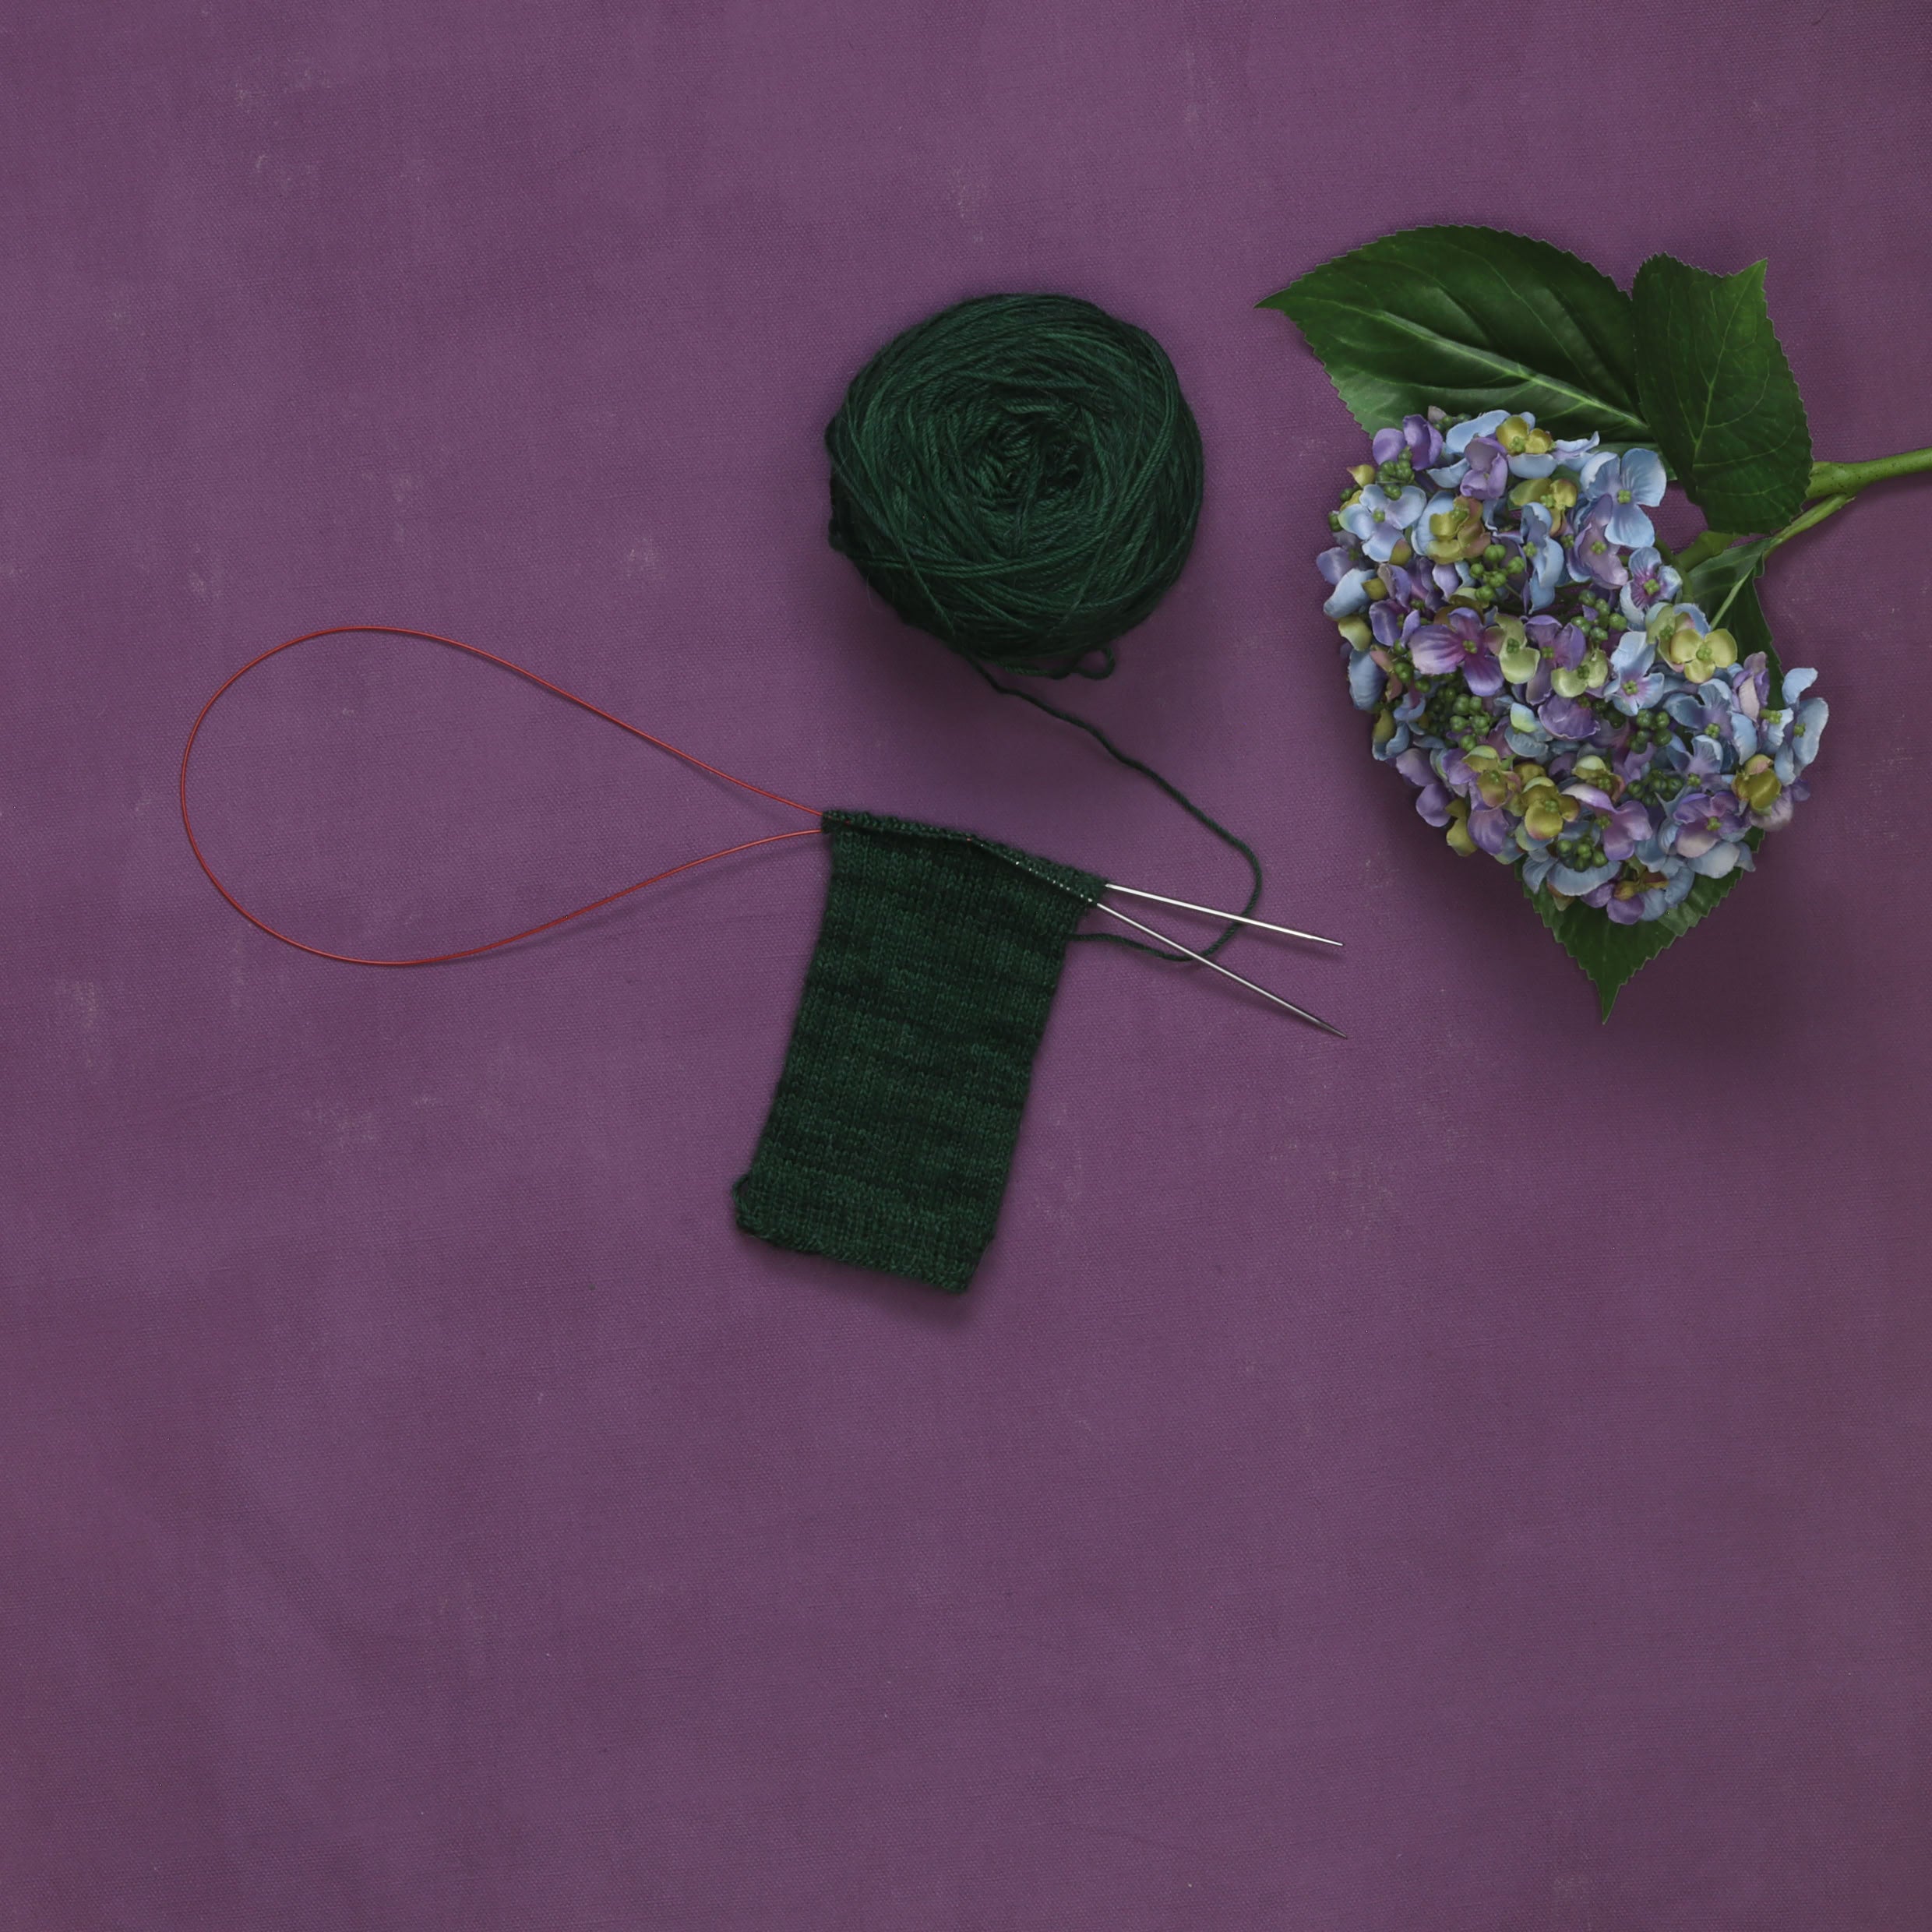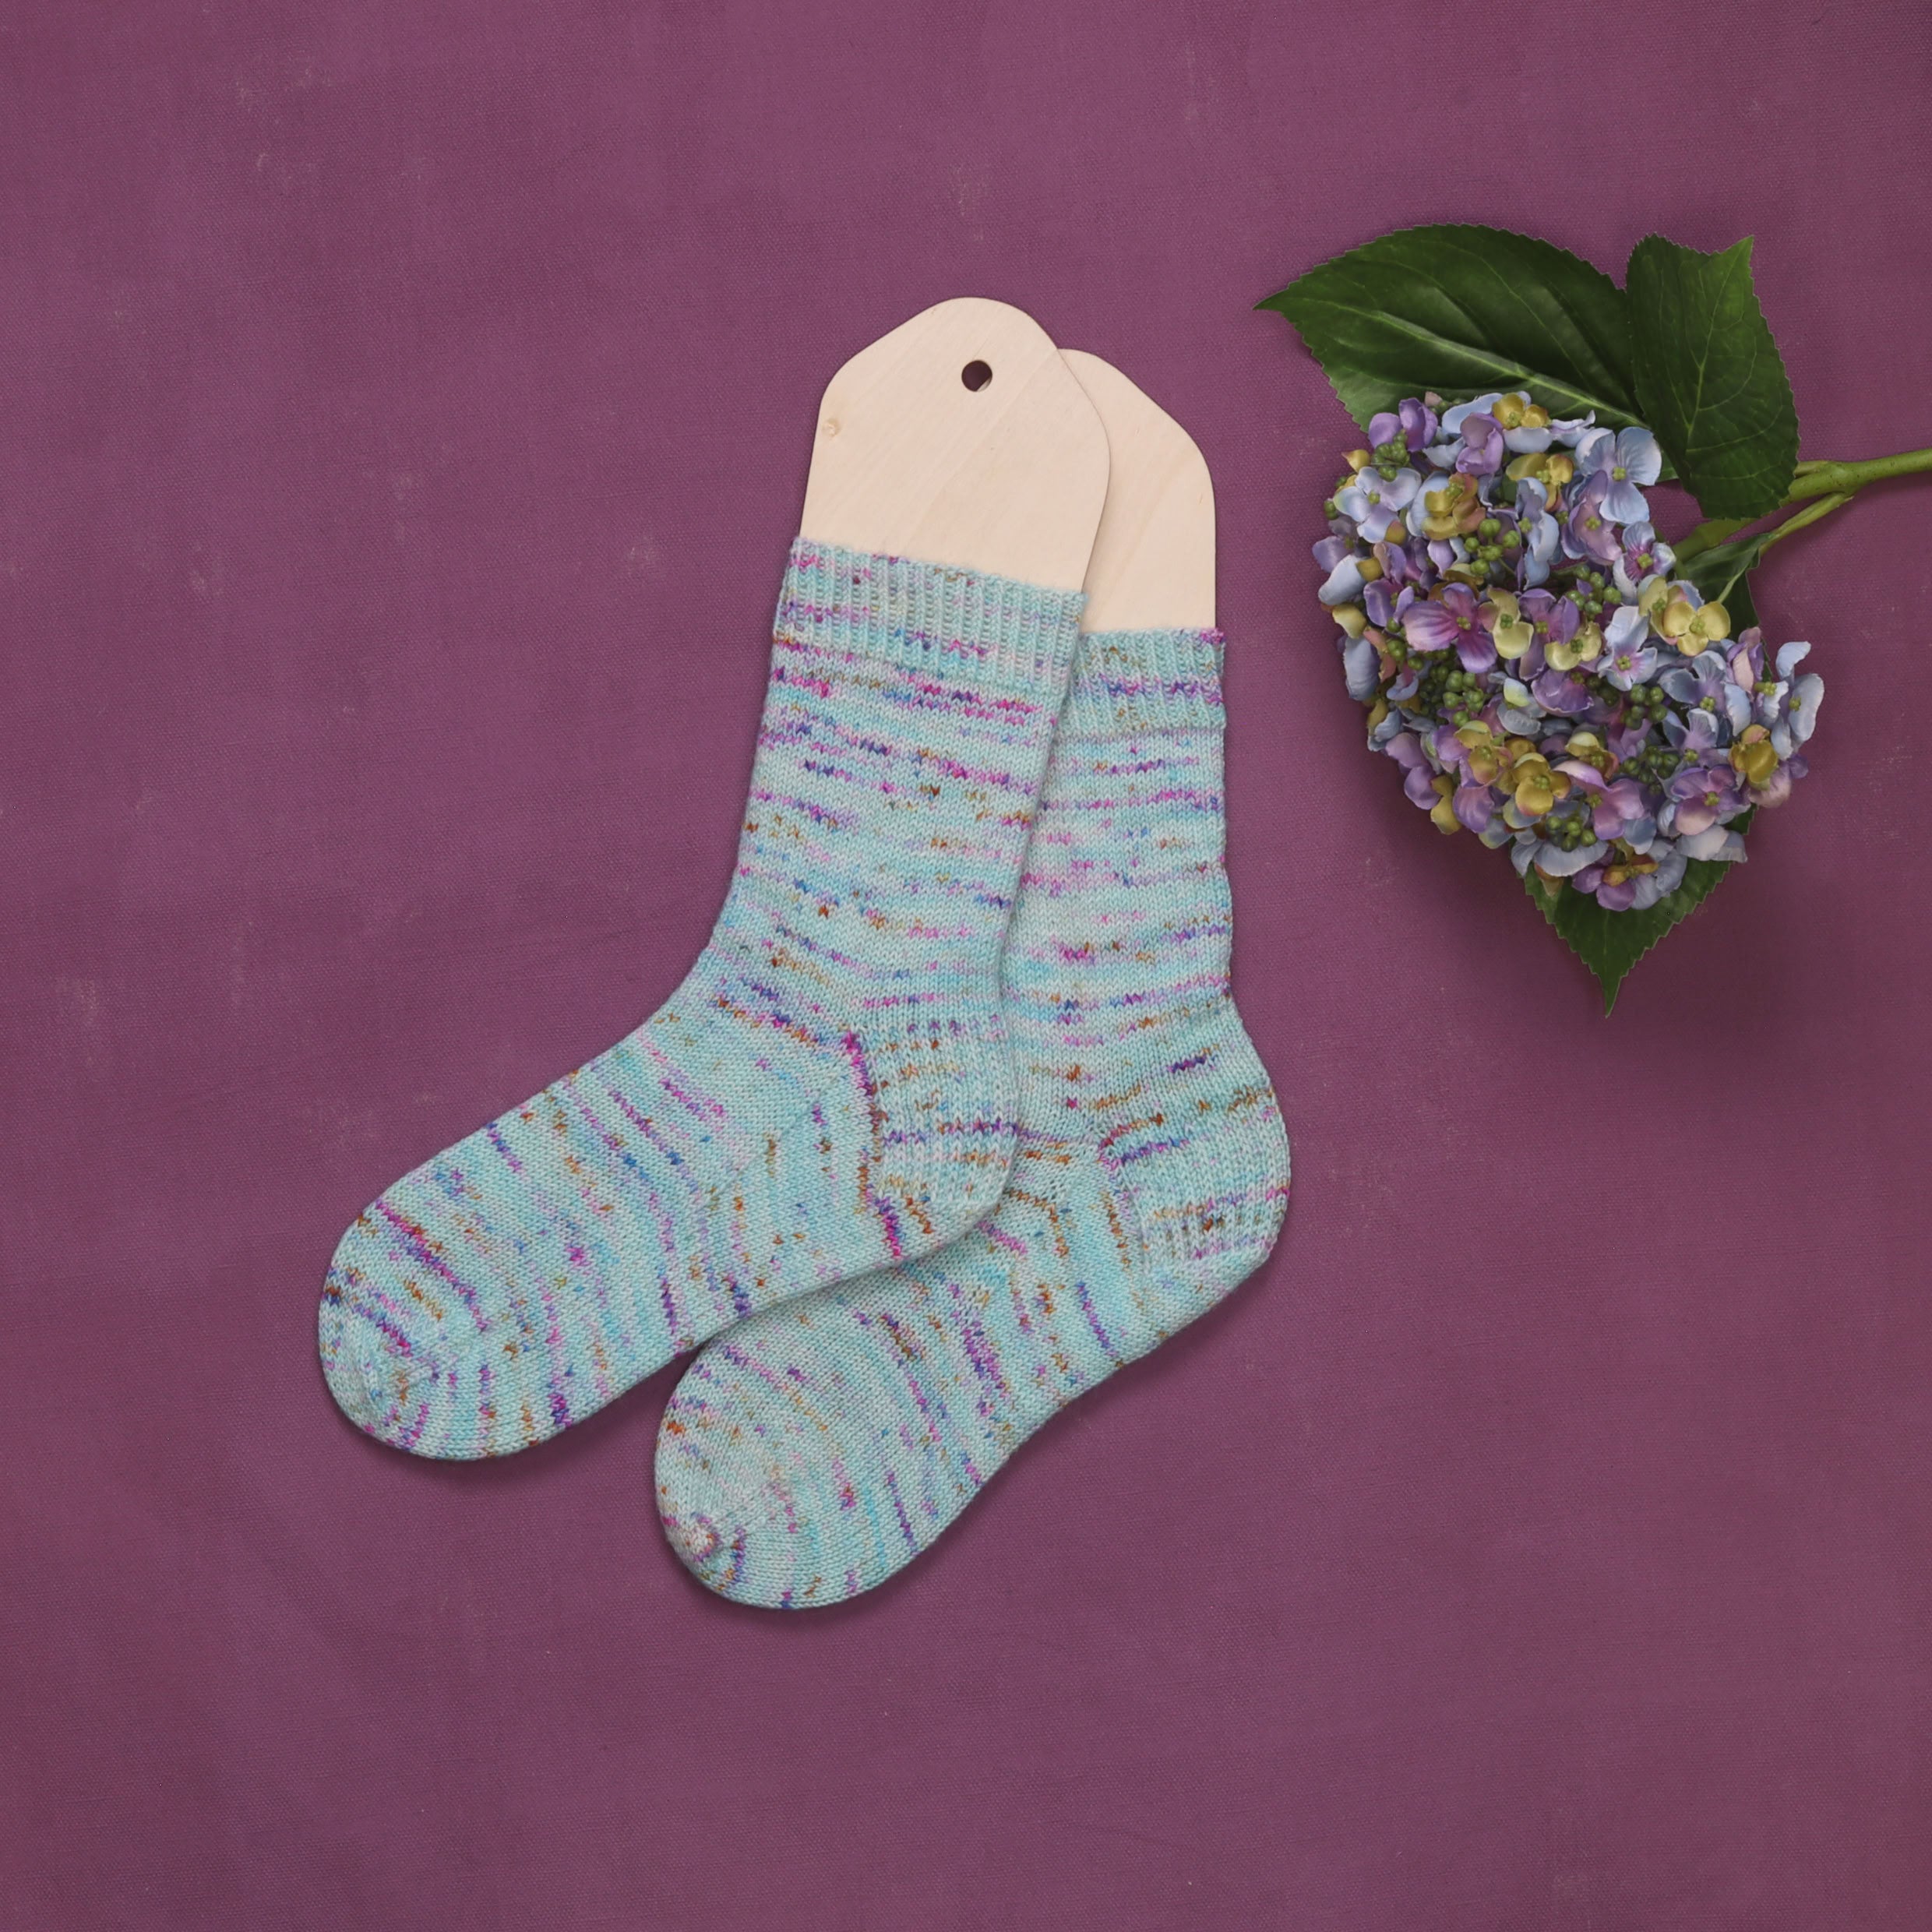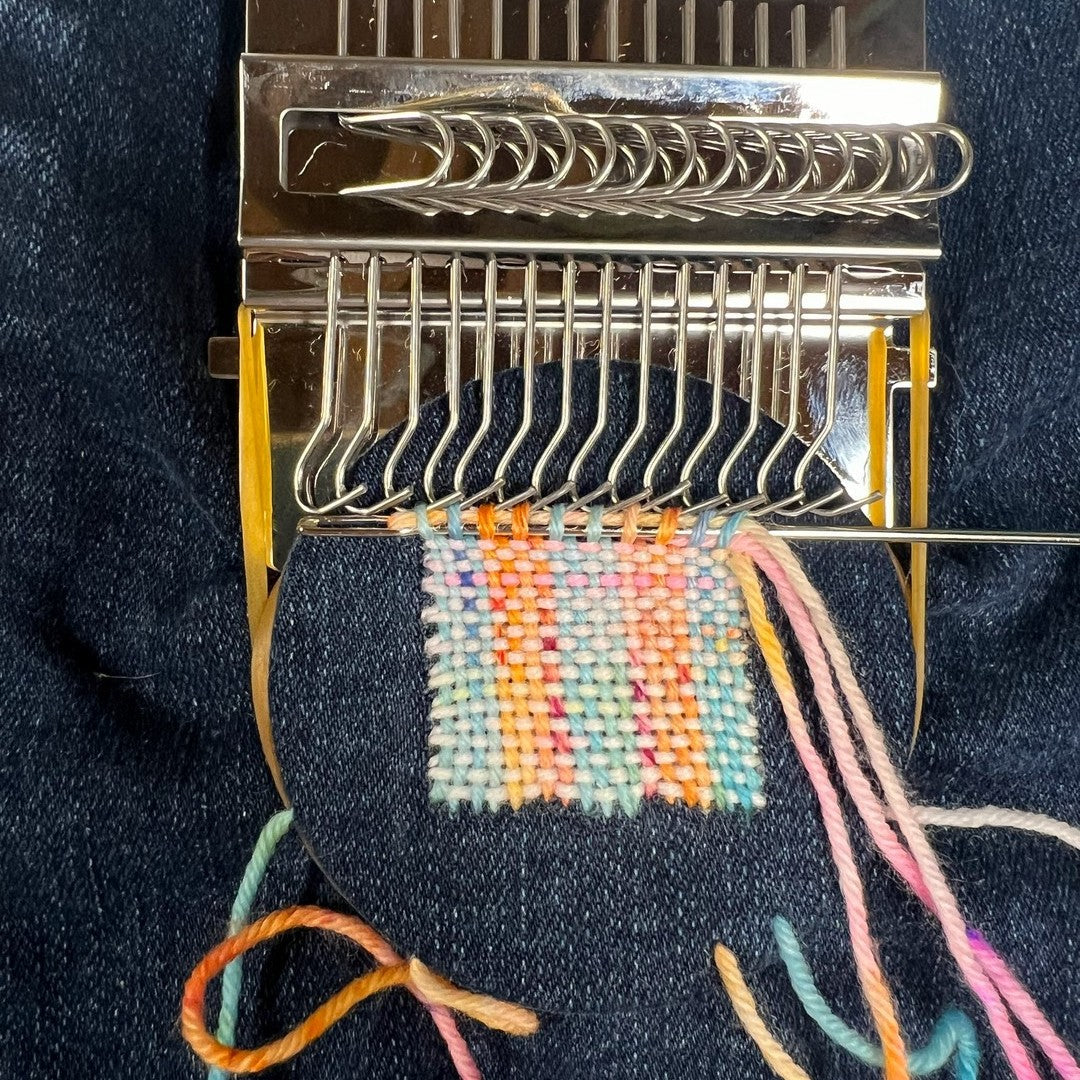


Swatching! Mention the s-word and we know many of you cringe and say that you never do a gauge square. But we've had too many people come and ask what they can do when the jumper that they've spent hundreds of hours knitting is too big or too small, and then admit that they never made a swatch as they were too keen to get started.
We promise you it's worth every minute you spend making that swatch!
No matter how standard you think your tension/gauge is, we promise that there is no one 'standard rule' for gauge. Rather, the gauge that is on a pattern is determined by how loose or tight the tension of the designer who wrote that pattern is, as well as what sort of look they wanted the finished fabric to have. If you look at a range of patterns for the same yarn, you'll find that there are a whole lot of needle sizes recommended to get the same gauge. Gauge can differ for many reasons including the way you knit compared to the designer - continental or English-style; how you hold your yarn; the type of needles you use - metal, bamboo, plastic, straight, circular, short or long...; the yarn that you're using; whether you're having a good day or feeling stressed, and so on.
Why gauge is so important
Even one or two stitches out in your gauge can make a huge difference. For example, take a jumper that has a gauge of 20 stitches per 10cm. You want to do a medium size to end up with a finished bust measurement of 100cm. That means the body of the jumper needs to have 200 stitches at the correct gauge to end up at that size. (100cm divided by 10 x 20 stitches)
Now imagine that you knit with a tension of 22 stitches per 10cm. You cast on 200 stitches but it ends up only being 90cm finished bust and too small. (200st divided by 22st x 10)
Or, you knit with a tension of 18 stitches per 10cm, and the jumper is too big (this is usually Deb's problem!). The finished bust is 111cm (200st divided by 18st x 10).
How to knit a swatch
On a pattern, the designer will spell it out for you. It will say something like: Gauge: 22 sts & 48 rows = 4"/10cm in stocking stitch (blocked) using 3.5mm needles.
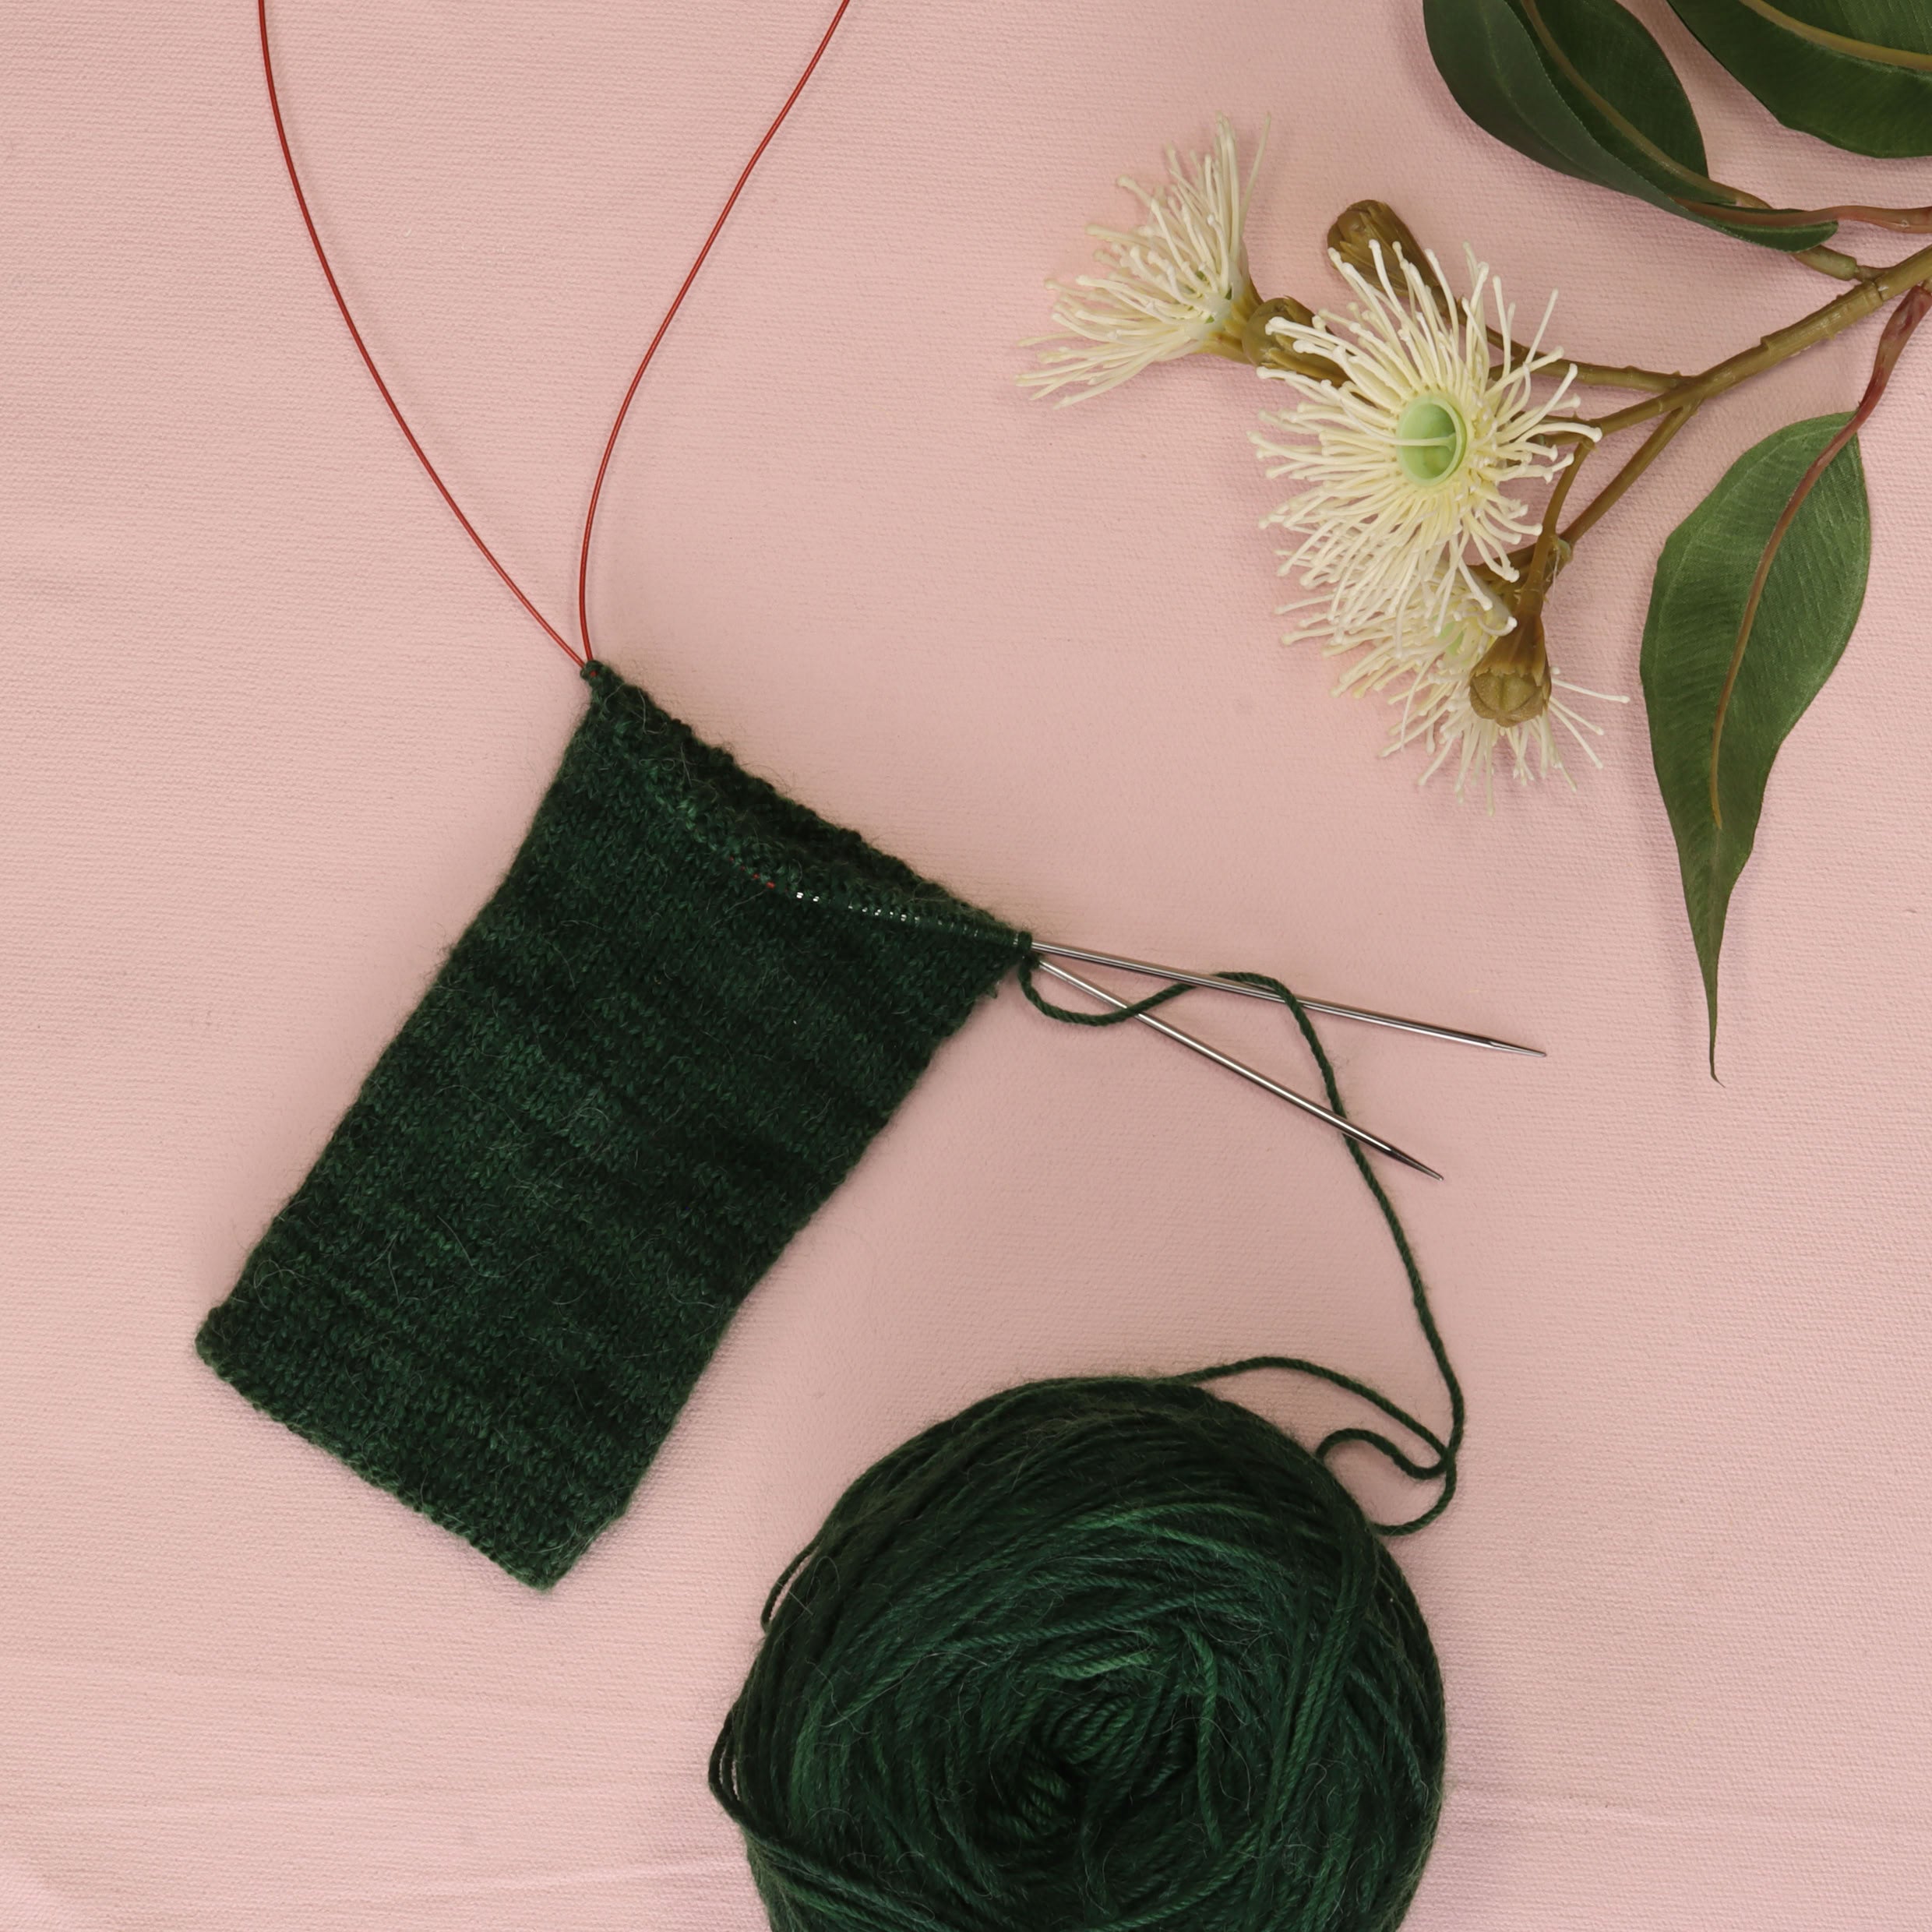
Generally start with the recommended needle size, and cast on at least 20 stitches more than the number / 10cm. So if you're trying to get 22 st/10cm, cast on at least 45 stitches. If you only cast on 22 then you won't get an accurate measurement as the edge stitches are always a bit wonky and you want to be measuring in the middle of your work.
Then knit or crochet for around 12-15cm so you get an accurate measurement of your row gauge. I usually measure my gauge at around 5cm and if it's significantly wrong, then I swap to the next sized needle, knit some kind of marker so you know where you swapped - this could be a row of garter stitch, some yarn over holes, and so on.
Once I've knit my square, I block it by soaking it in some lukewarm water for 10 minutes or so. You can keep the ball of yarn attached but out of the water so that you can undo your swatch and use the yarn in your project later. Squeeze the water out, then lay it on a blocking mat - a rubber square or yoga mat is ideal - and spread it out the way you will when you wash your project. Let it dry, then measure the gauge.

Grange 10 swatch: On the tension square above, Jane was knitting a swatch in the new Grange 10 yarn to have in the shop to show you how it feels and behaves. Can you see the holes that she's placed in each square? That refers to the needle size. So the one at the top with five holes means it's 5mm needles, the middle one has 5 holes, one hole below, then 5 holes below that - 5.5mm needles, the bottom one has six holes - 6mm needles. She also knit a garter ridge between each section and tried out cables, lace and knitting mohair with it to see how the yarn behaved. It's really worth going to this effort to make sure you like the way the yarn works with the pattern you've chosen.
Measuring gauge


To measure your gauge, place a ruler in the middle of your square, grab something sharp like a needle or pencil and count how many stitches you have in 10cm (above, left). Then count the number of rows you have in 10cm (above, right) and compare both to the recommended gauge.
To know whether you should go up or down a needle size remember:
- Too many stitches = too tight. Go to a larger needle/hook
- Too few stitches = too loose. Go to a smaller needle/hook
And keep doing this until you find the right needles/hook to use.
If you need any help please get in touch. We're always happy to help with swatching!