Adding Short Rows to the Gr8 Gingham Raglan sweater
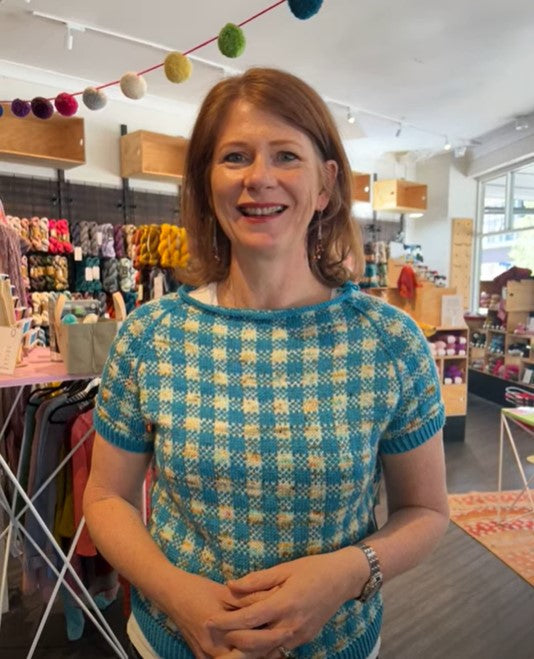
Hooray! I finished my Gr8 Gingham Raglan! Designed by Jessie Maed Designs, it's a super cute jumper that uses a solid colour with a hand-dyed or gradient yarn as a contrast. But I'm not happy with the neckline - it's too high up my neck and doesn't suit me! It seems like there's a few people who feel the same, so here are all the details about my jumper and what I did to fix it.
The details for my jumper:
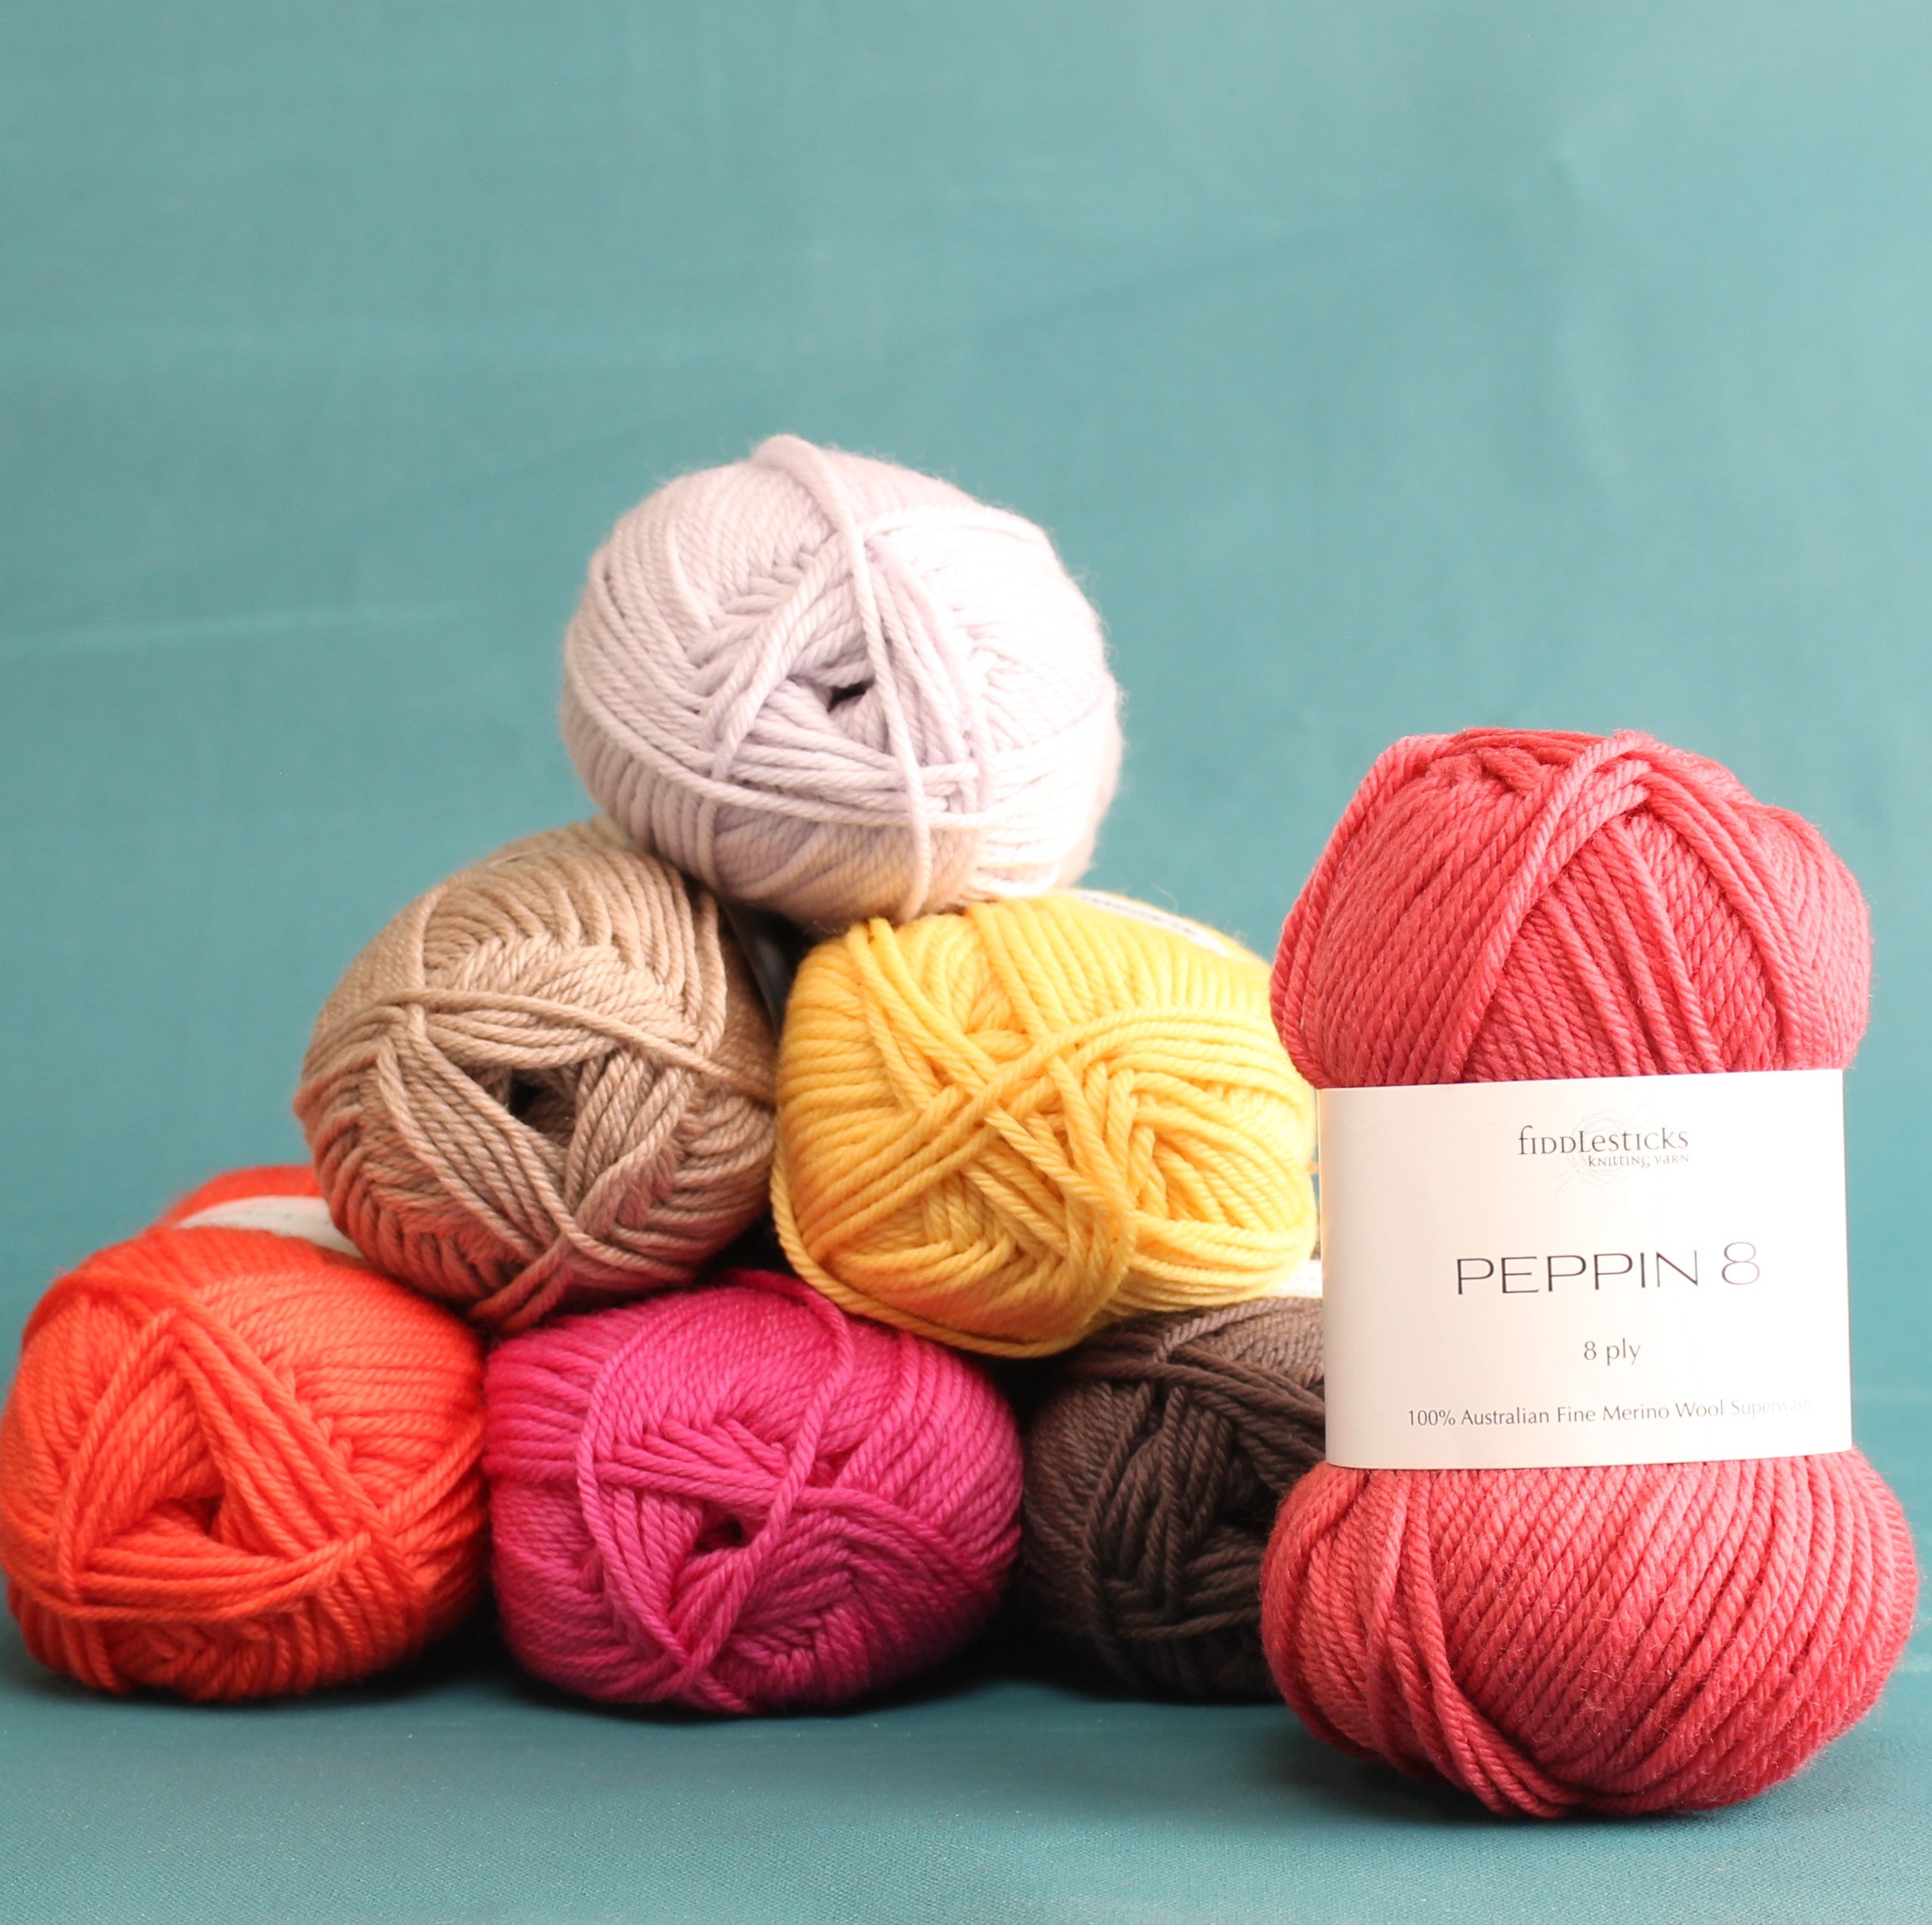
Main: Peppin 8 col 817 Teal x 6 balls
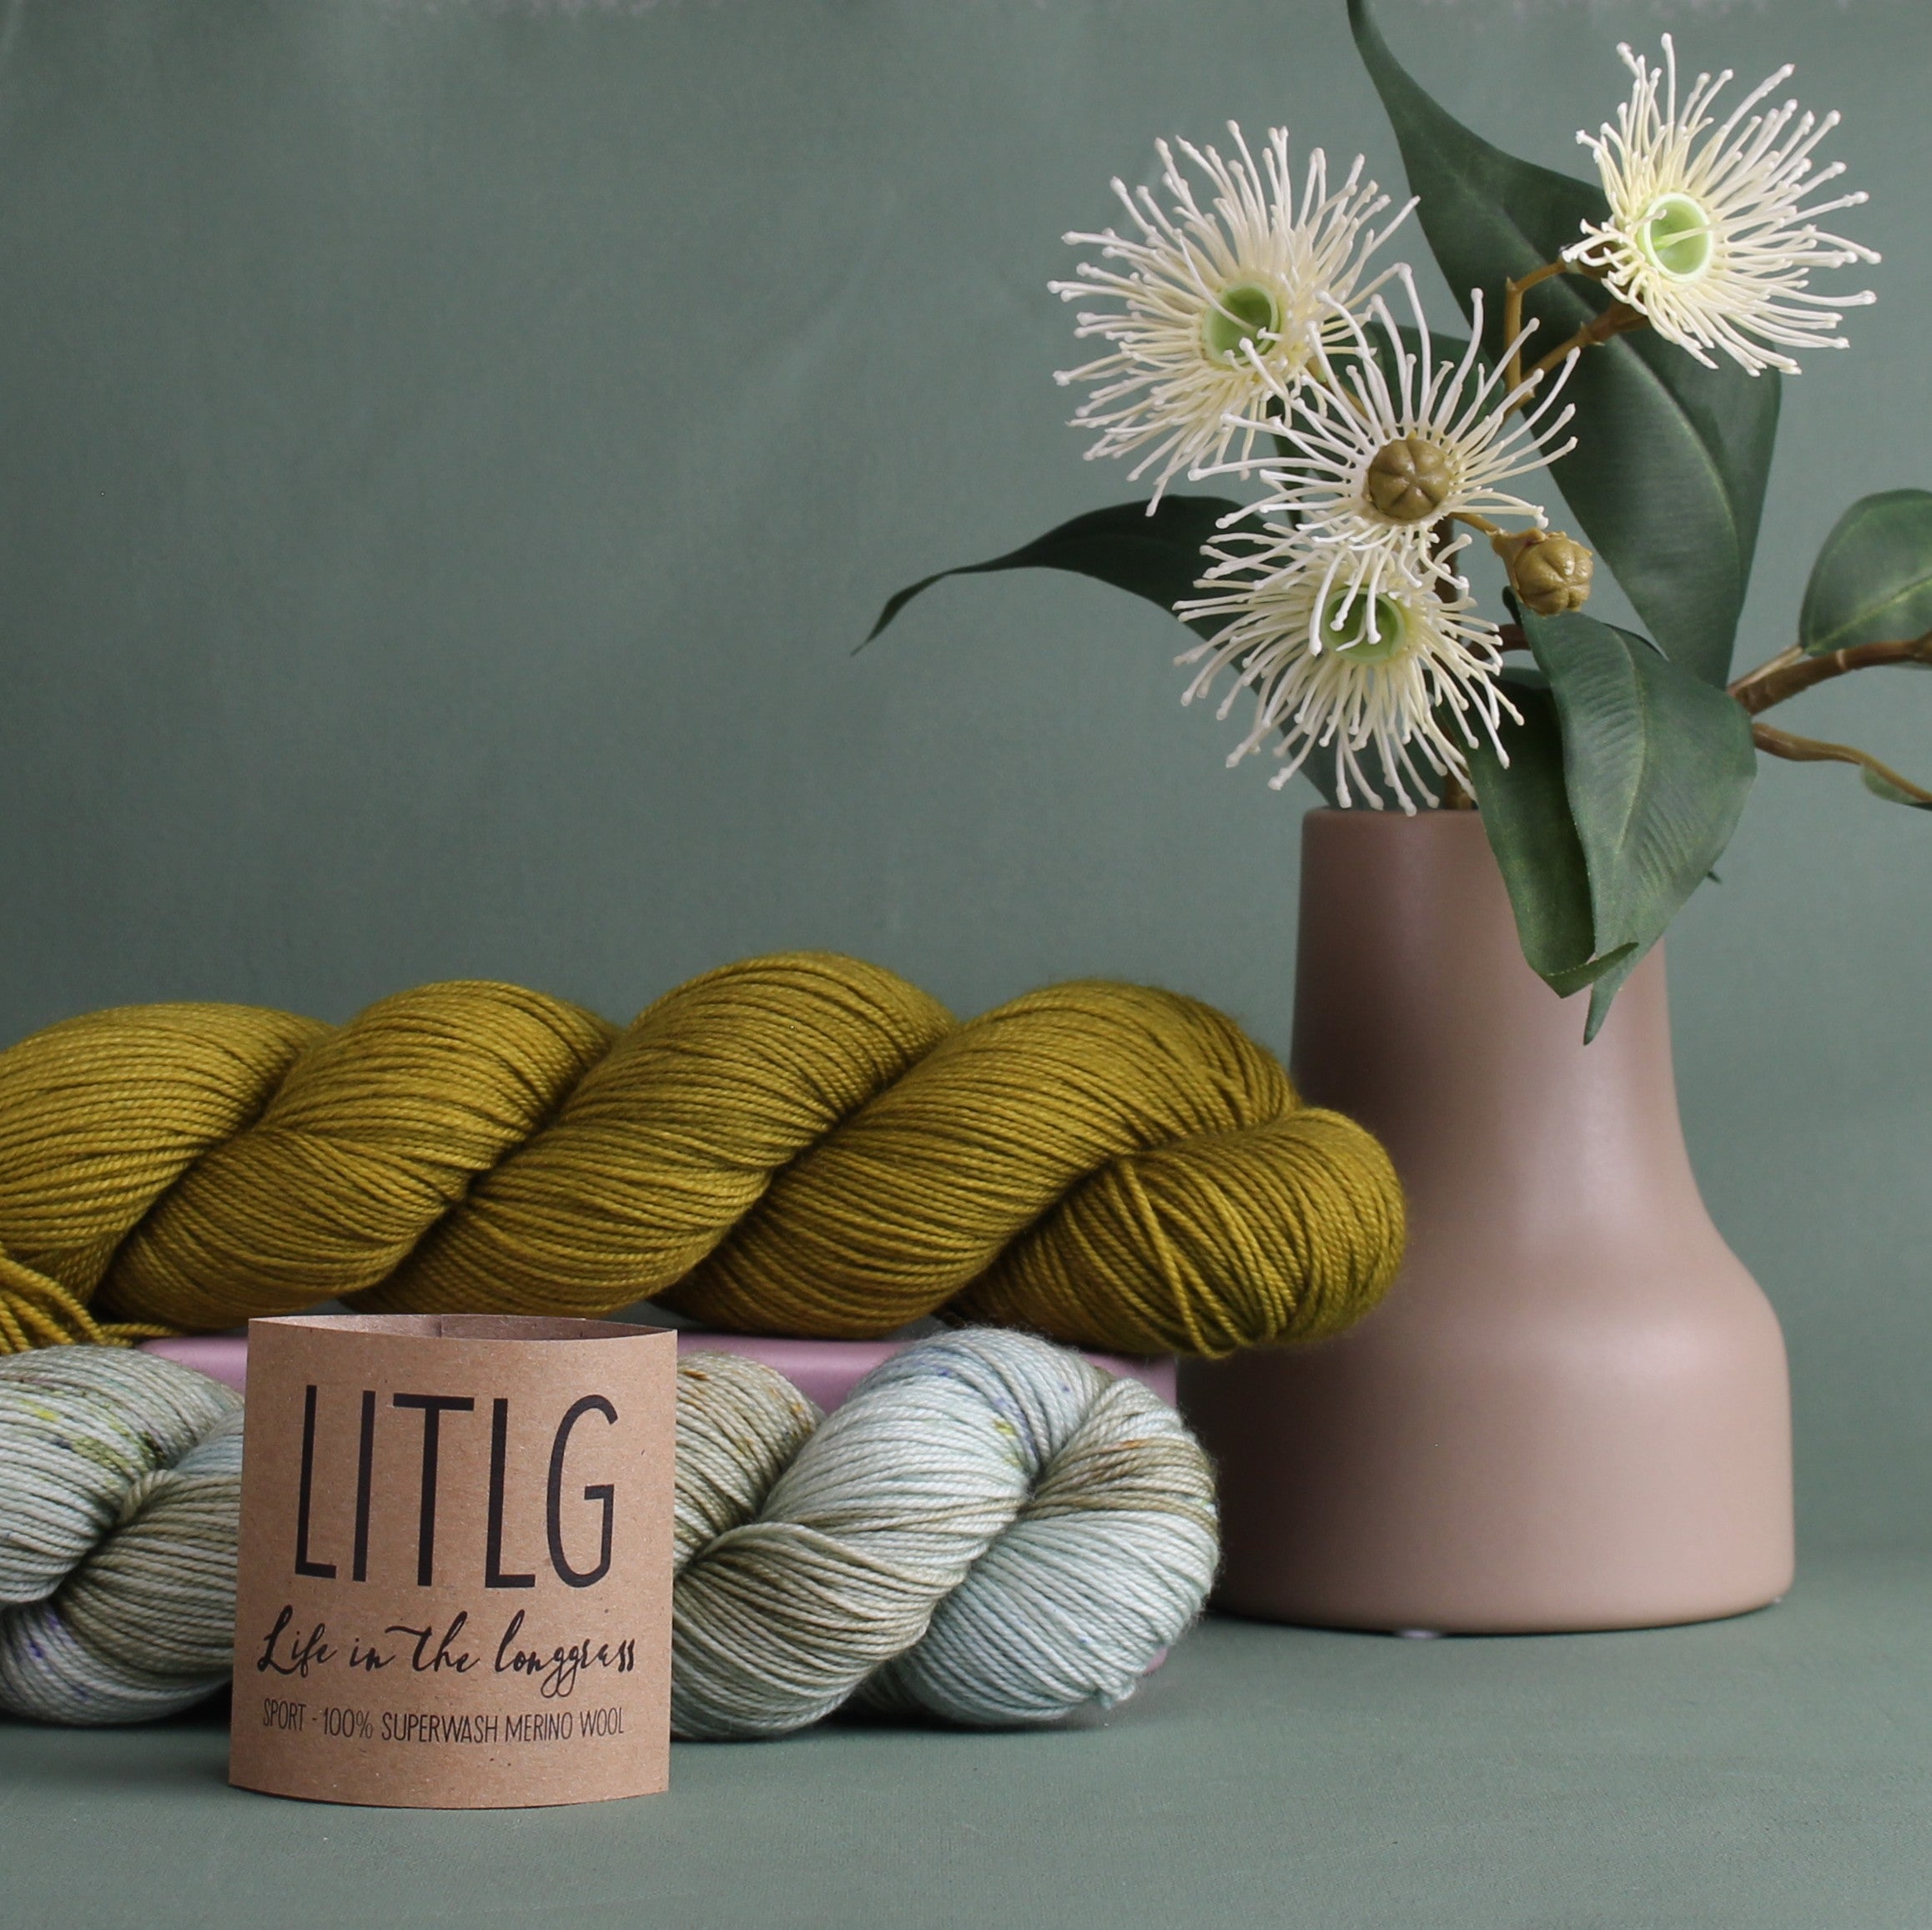
Contrast: Life in the Long Grass Sport Merino: Ceramic x 2 skeins
Gauge: 25 sts/10cm (22 sts as suggested was too loose in this yarn)
Needle size: 4mm, 10cm metal Chiaogoo
Size made: M (I am actually the S size, but as my gauge was tighter I worked out that I needed to do the M to end up with the correct size)
The pattern was designed for sport weight yarns and Fiddlesticks Peppin 8 worked well with the Sport Merino for the main colour. Peppin 4 was too fine, and I liked the mix of the solid colour from the commercial yarn contrasting with the hand-dyed yarn.
The jumper is knit from the bottom up, the sleeves are knitted separately from the cuff and then everything joined together at the underarms. From there, the raglan sleeves are shaped as you head to the neckline. But... there are no short rows to shape the neckline and it just didn't look good on me! It came halfway up my neck was just too high. Plus, as I did the short-sleeved version, it seemed a bit weird to have such a high neck on a jumper that will be worn in the in-between seasons. I had a go at the i-cord edging as suggested but that rolled down and looked terrible. You can see it in the pic below, and take a look at my Youtube video if you want to see what I mean.


The only thing to do was to undo the neckline a bit, knit a ribbed band and then add in short rows to the back. I've added a video to Youtube showing how I did it, and also another one when it was finished.
Here's what I did:
- Finish knitting when you are two pattern repeats (or squares) from finishing the written pattern. In the M size, this was when there were 19 stitches left for each sleeve. Break contrast colour.
- Change to 3.5mm needle (or whatever you're using for the rib)
- Knit one row in main colour, decreasing (k2tog) approx 20 stitches evenly around the neckline. Make sure you end up with an even number of stitches.
- Move the stitch marker to the centre back.
- In twisted rib - *k1 tbl, p1*, knit 18 or 19 so that the last stitch is a knit stitch. Wrap and turn.
- Maintaining the twisted rib pattern - *p1 tbl, k1* - knit to the marker, then knit 18 or 19 more so that the last stitch is a purl stitch. Wrap and turn.
- Continuing in twisted rib, knit to the marker, then continue on until you get to the stitch that was wrapped. Do not pick up the wrap. Knit 10. Wrap and turn.
- Repeat this row 5 more times. The wrap and turns should fall on what is a purl stitch on the RS. If if doesn't, knit 9 stitches past the wrap instead.
- After the last wrap and turn, knit the whole round in twisted rib (you should be knitting on the right side). Do not pick up any of the wraps.
- Knit 6 rounds in twisted rib.
- Bind off in knit.
One last tip - I wanted to make my top longer but it wasn't easy working out how much extra to add before splitting for the sleeves as the only measurement given for the top part is the diagonal yoke depth and didn't include the neckband. Through a bit of maths, I worked out the back neck to armhole depth is around 21cm, I wanted an overall length about 53cm, so I made the body 32cm before joining the sleeves on.
Please email us if you have any questions, we're always happy to help.
Debx