
Back at the end of March 2021, I (Deb) decided that I needed to make a blanket for Rupert, my 7 year old little boy. Really it was just an excuse to start crocheting another blanket after making the amazing Scheepjes CAL 2020 d’Histoire Naturelle blanket in late 2020. This CAL really got me hooked on crochet and taught me a huge amount. I highly recommend it if you're after a really interesting project.
You've probably realised that I love projects that are a little bit complex as I get bored quite easily if I'm doing the same stitch or pattern over and over again. After quite a bit of searching and asking all our team about their favourite blanket projects, I found the Nuts about Squares blanket compiled by Esther from It's All in a Nutshell. You make 35 amazing squares from 14 designs by 11 talented designers. After joining it all together a beautifully textured border is added to finish it off.
You can find all the instructions for it here, which includes step-by-step videos for each square compiled by Esther.
It is ideal for crocheters who are looking for a fabulously fun project that will keep you interested in each square, and you'll end up with a beautiful blanket at the end.
Kits and colours
To celebrate this wonderful project, we have put together Nuts About Squares Bellissimo Linden kits in the colours that I used. You can find the kits here to purchase your own.
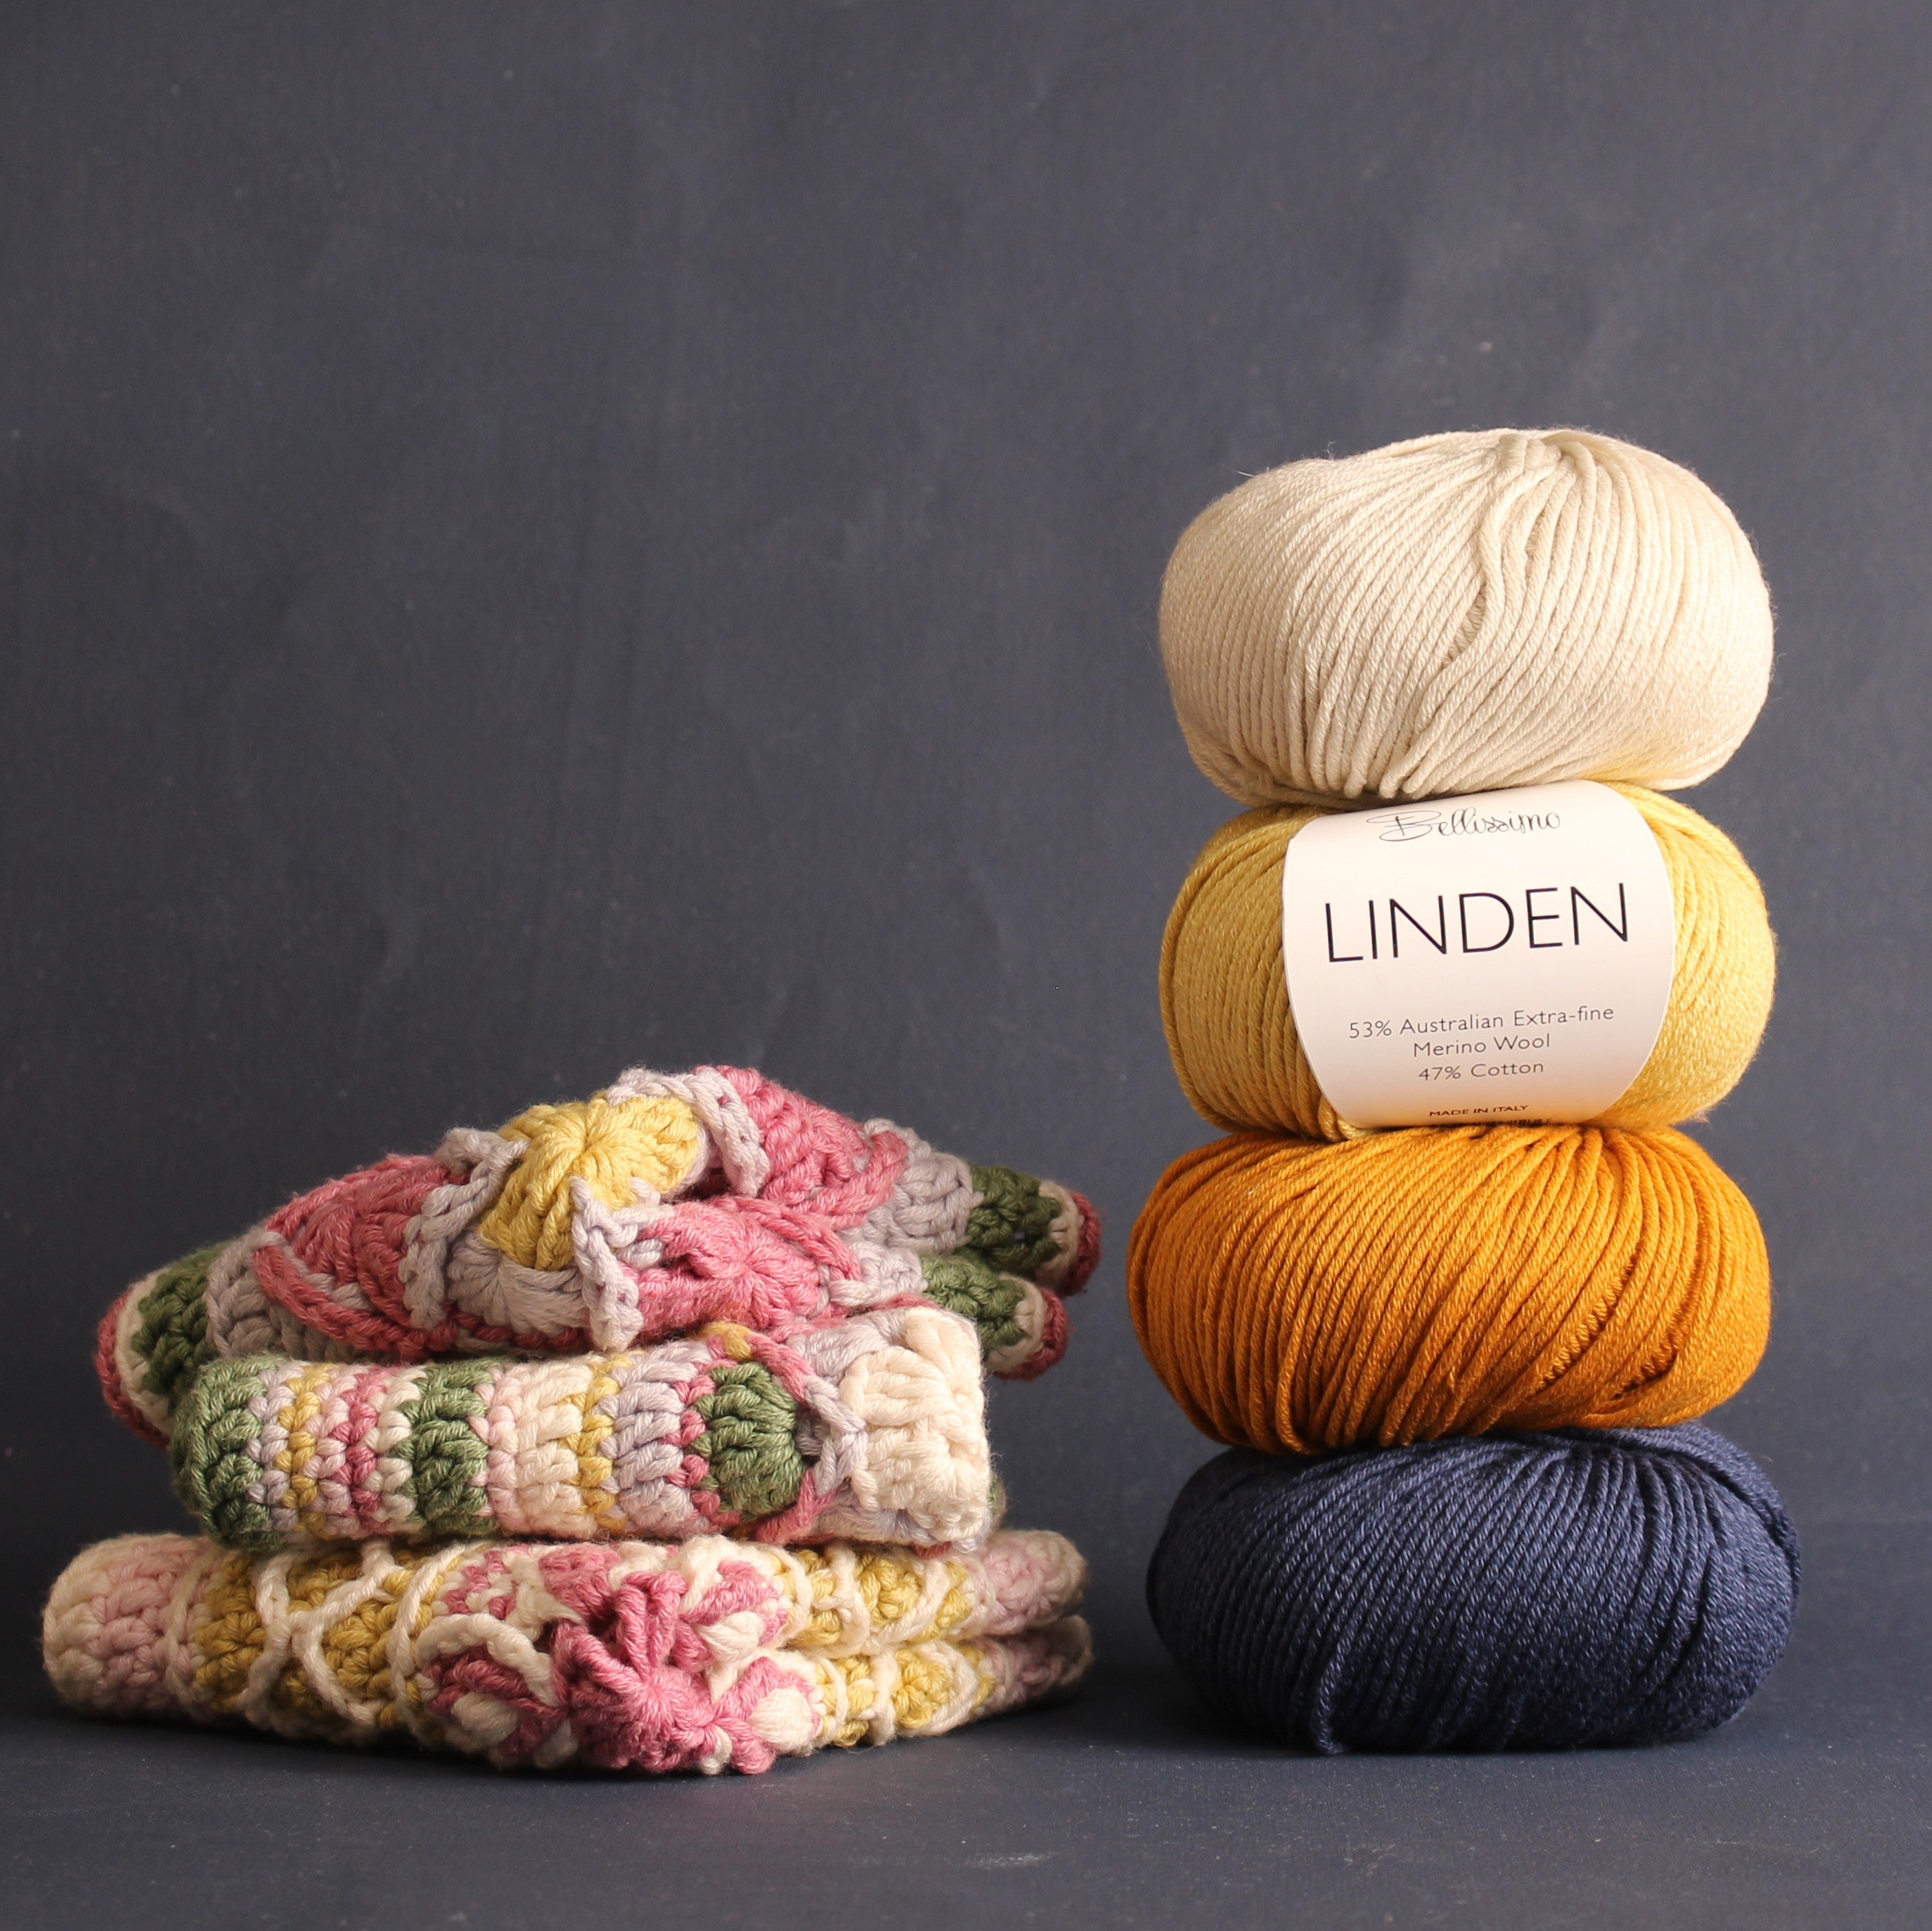
I used Bellissimo Linden, a really lovely 10ply/worsted weight wool/cotton blend. It is warm but not too hot, it has a lovely heaviness to the handle and is smooth but soft. The colours I used are:
- 10101 Ivory x 2
- 10102 Linen x 8
- 10103 Silver x 4
- 10105 Earth x 2
- 10111 Rhubarb x 2
- 10113 Orchid x 7
- 10114 Mustard x 9
- 10116 Chilli x 6
- 10119 Ice Blue x 6
- 10121 Willow x 3
- 10122 Prusse x 10
- 10106 Charcoal x 10 (for joining the squares)
Read about the colours Deb used for each individual square in our blog post Deb's Nuts about Squares Blanket: All about each square.
Part of the fun of a pattern like this is designing the colours that you're going to use for each square. It's one of my most favourite things to do! But we know that it can sometimes feel a bit overwhelming. I started off with a palette of 10 colours, which Rupert helped me choose. I then realised half way through that I needed to add Willow (green) into the blanket. I'm such a green girl, so it's strange that I didn't use it from the start! I also limited the amount of Rhubarb (pink) that I was using once I added in the Willow.
At the start of each square I'd think about the effect I wanted - which section of the pattern did I want to have stand out, what 'feel' did I want eg. tonal and low contrast or vibrant and high contrast and then I'd line up the colours in the order I thought (as below). Sometimes I'd swap the colours around as I made the square if it didn't turn out the way I was expecting - it's all totally up to you!

How many squares of each?
In the instructions, Esther suggests the number of squares to make for each design to give you the right number of squares overall. I soon realised that there were some squares that I enjoyed making more than others so I did less of some and more of others. For example, I adore the Tropical Delight square by Susan Stevens - both making it and the look of it - but you were only meant to make one. So I made three of them and only one of another square that I didn't enjoy making so much. You can do the same to customise the blanket to what you enjoy making and like the look of.
As I got closer to finishing the number of squares I wanted (35), I started spreading them out on floor and assessing the overall look. It's the best way to see if there are colours that you need more of, or shapes that are missing. At one point I realised that I needed some more 'round' designs so concentrated on making a few more.

Finishing the blanket
Rupert's favourite colour this year is grey (we don't know why!) so he was determined to have Charcoal as the joining colour. He was right as it really set off all the other colours without taking away the impact of each. The technique that Esther suggests to join the blanket is fiddly but so very worth it. It's very flat and an elegant way to join the squares. Persevere and you'll soon get into the swing of it.
You can see how to do this technique on our video here.

Finally I put together the colours for the border, keeping in mind that I wanted to use Prusse (navy) as the final colour as it was one of the colours that I used the most throughout the blanket.

Read about the colours Deb used for each individual square in our blog post Deb's Nuts about Squares Blanket: All about each square.